# Building an Evil Red Button
*last updated: 2025-05-30*
*[video](https://www.youtube.com/watch?v=XyMc2jrceqA), [github repo](https://github.com/BikeCookRobots/evil-red-button)*
---
It is immensity satisfying to watch a villain push a big red button. Trapping heroes, activating super weapons, even just turning on the big (probably evil) TV. It’s so good. I decided to make a little prop like that for myself. Not only does this look cool, it actually does something using the built in WiFi microcontroller.
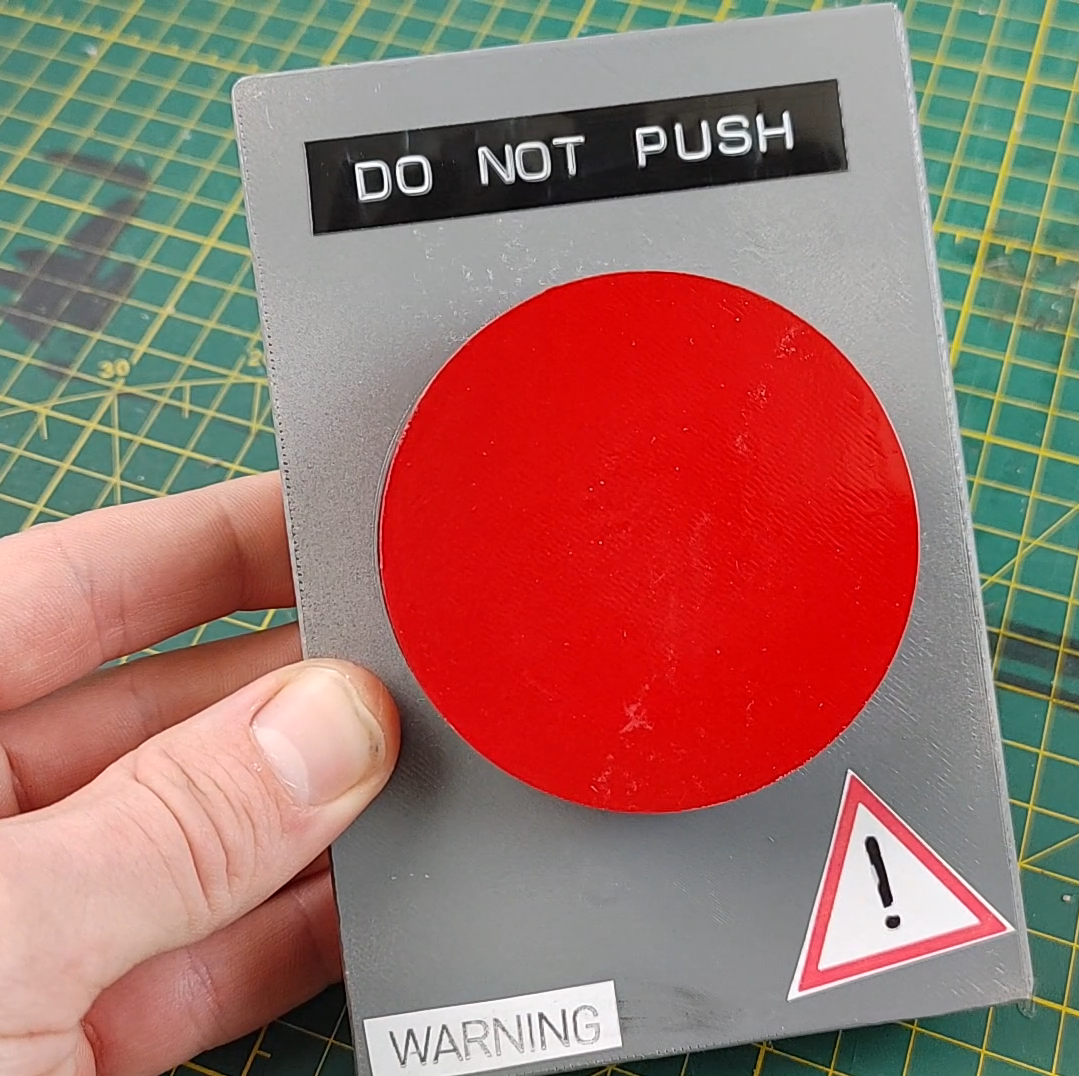
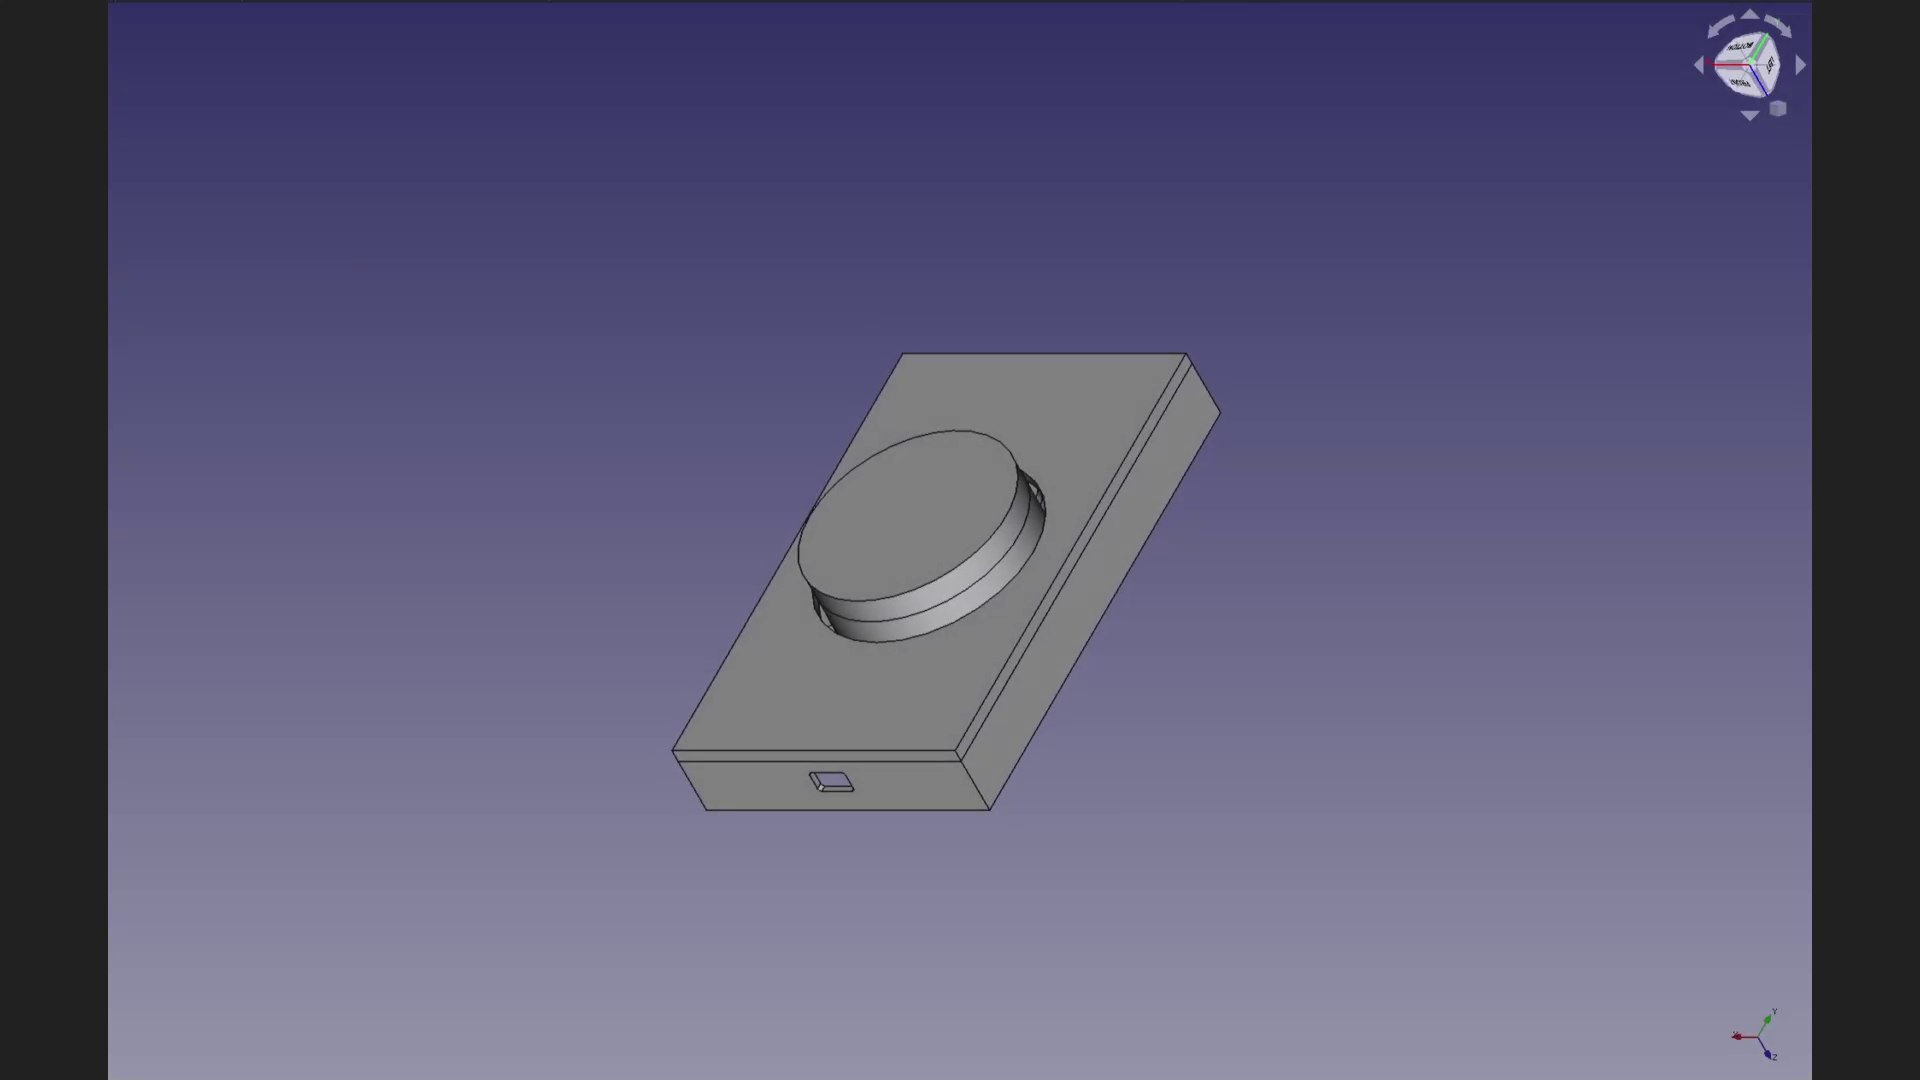
This is a pretty simple design. 3D printed components make up the case and the button. A set of springs push the button to the front.
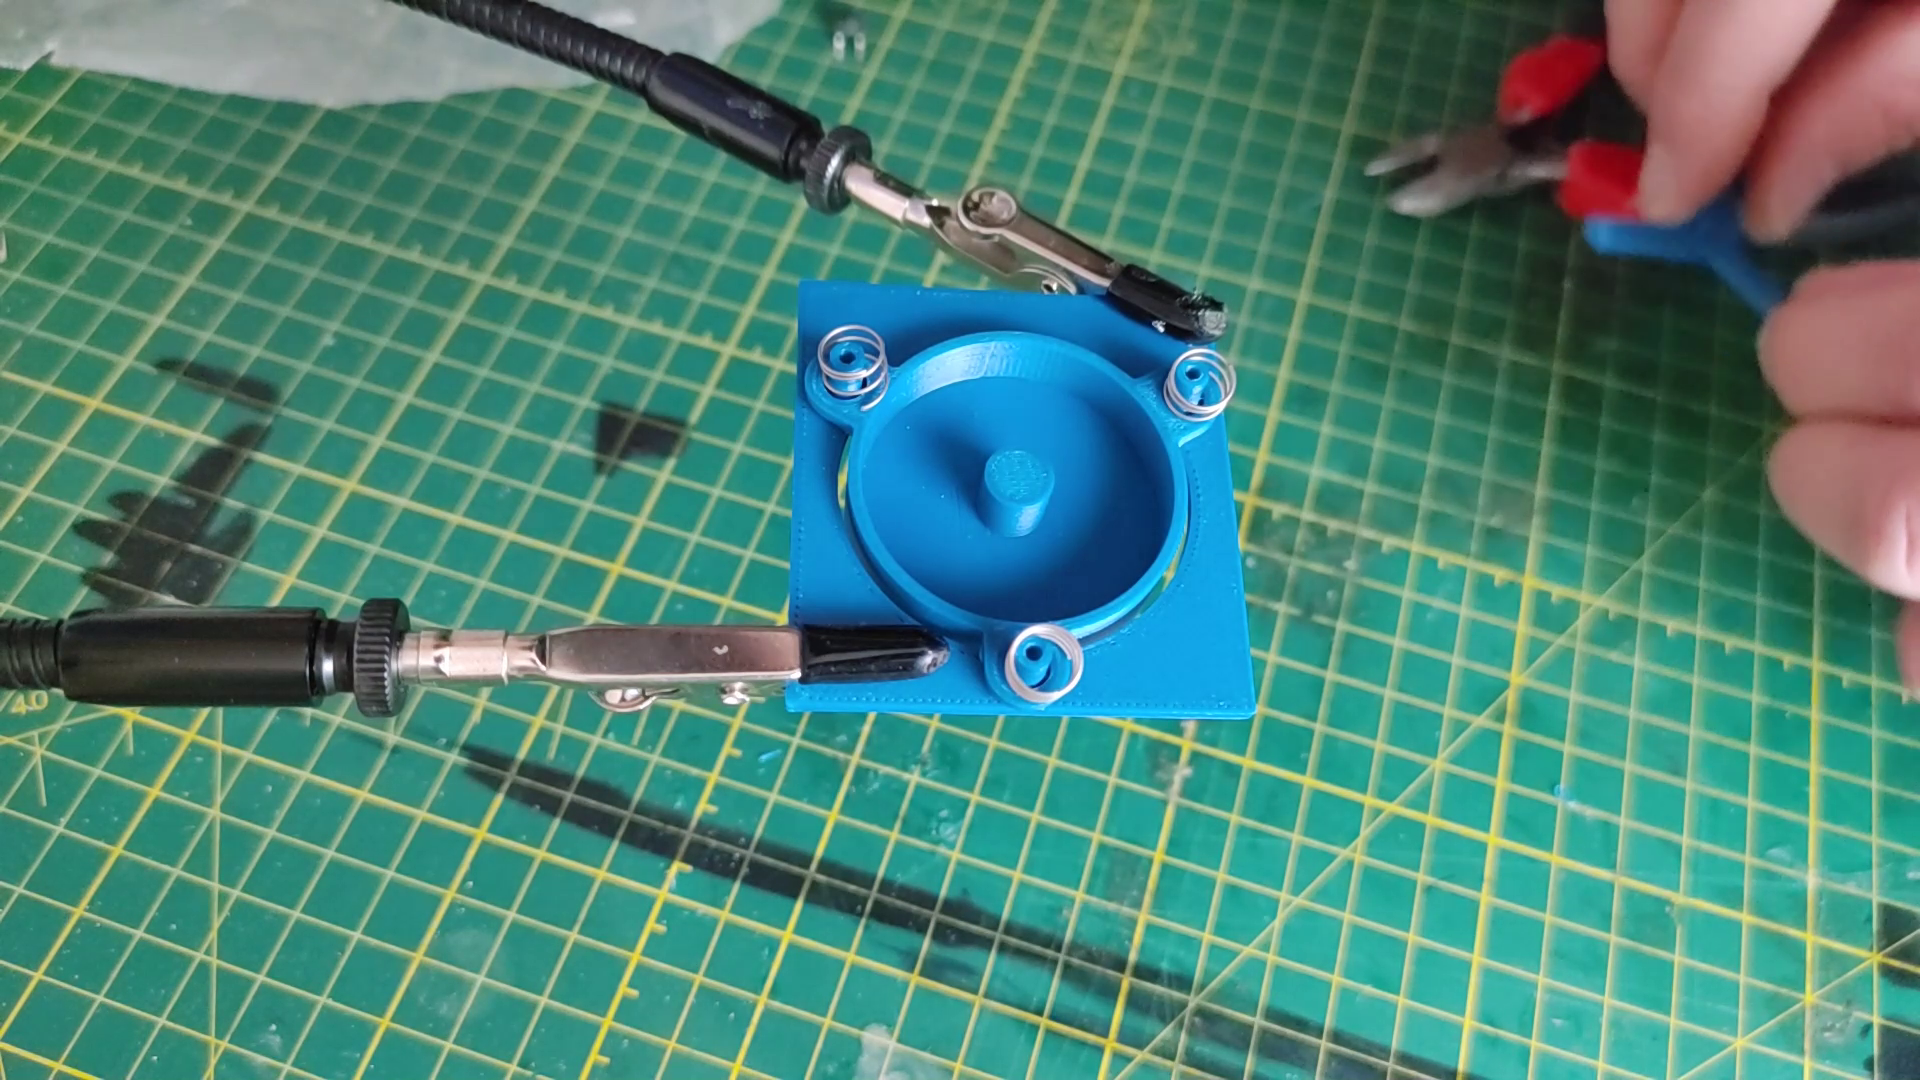
When the button is depressed, it presses a tactile button at the bottom of travel. This is connected to a Sparkfun Qwiic Pocket microcontroller. I selected this board for its wifi capabilities, a USB-C connector and a built-in battery charging circuit. the set of DIP switches allow for more than just one function. Each button press sends an MQTT message with a number corresponding to the DIP switch state. If you build this, you could keep it simple, skip the DIP switches and have it trigger a single action.
Home Assistant, as always, is my platform of choice for activating smart devices. The advantage to this is that if I want to change the functions the button performs, I change it in home assistant, rather than reflash the button. You could have each button state send a different command, but this felt like the most simple option to me. I set mine up to control some of the lights and to toggle the music.