# Woodworking
*last updated: 2026-03-21*
This post is a running list of some of my recent woodworking projects. These are certainly not the prettiest, but I think Im getting better with each one.
---
## Custom Handle Kitchen Knives
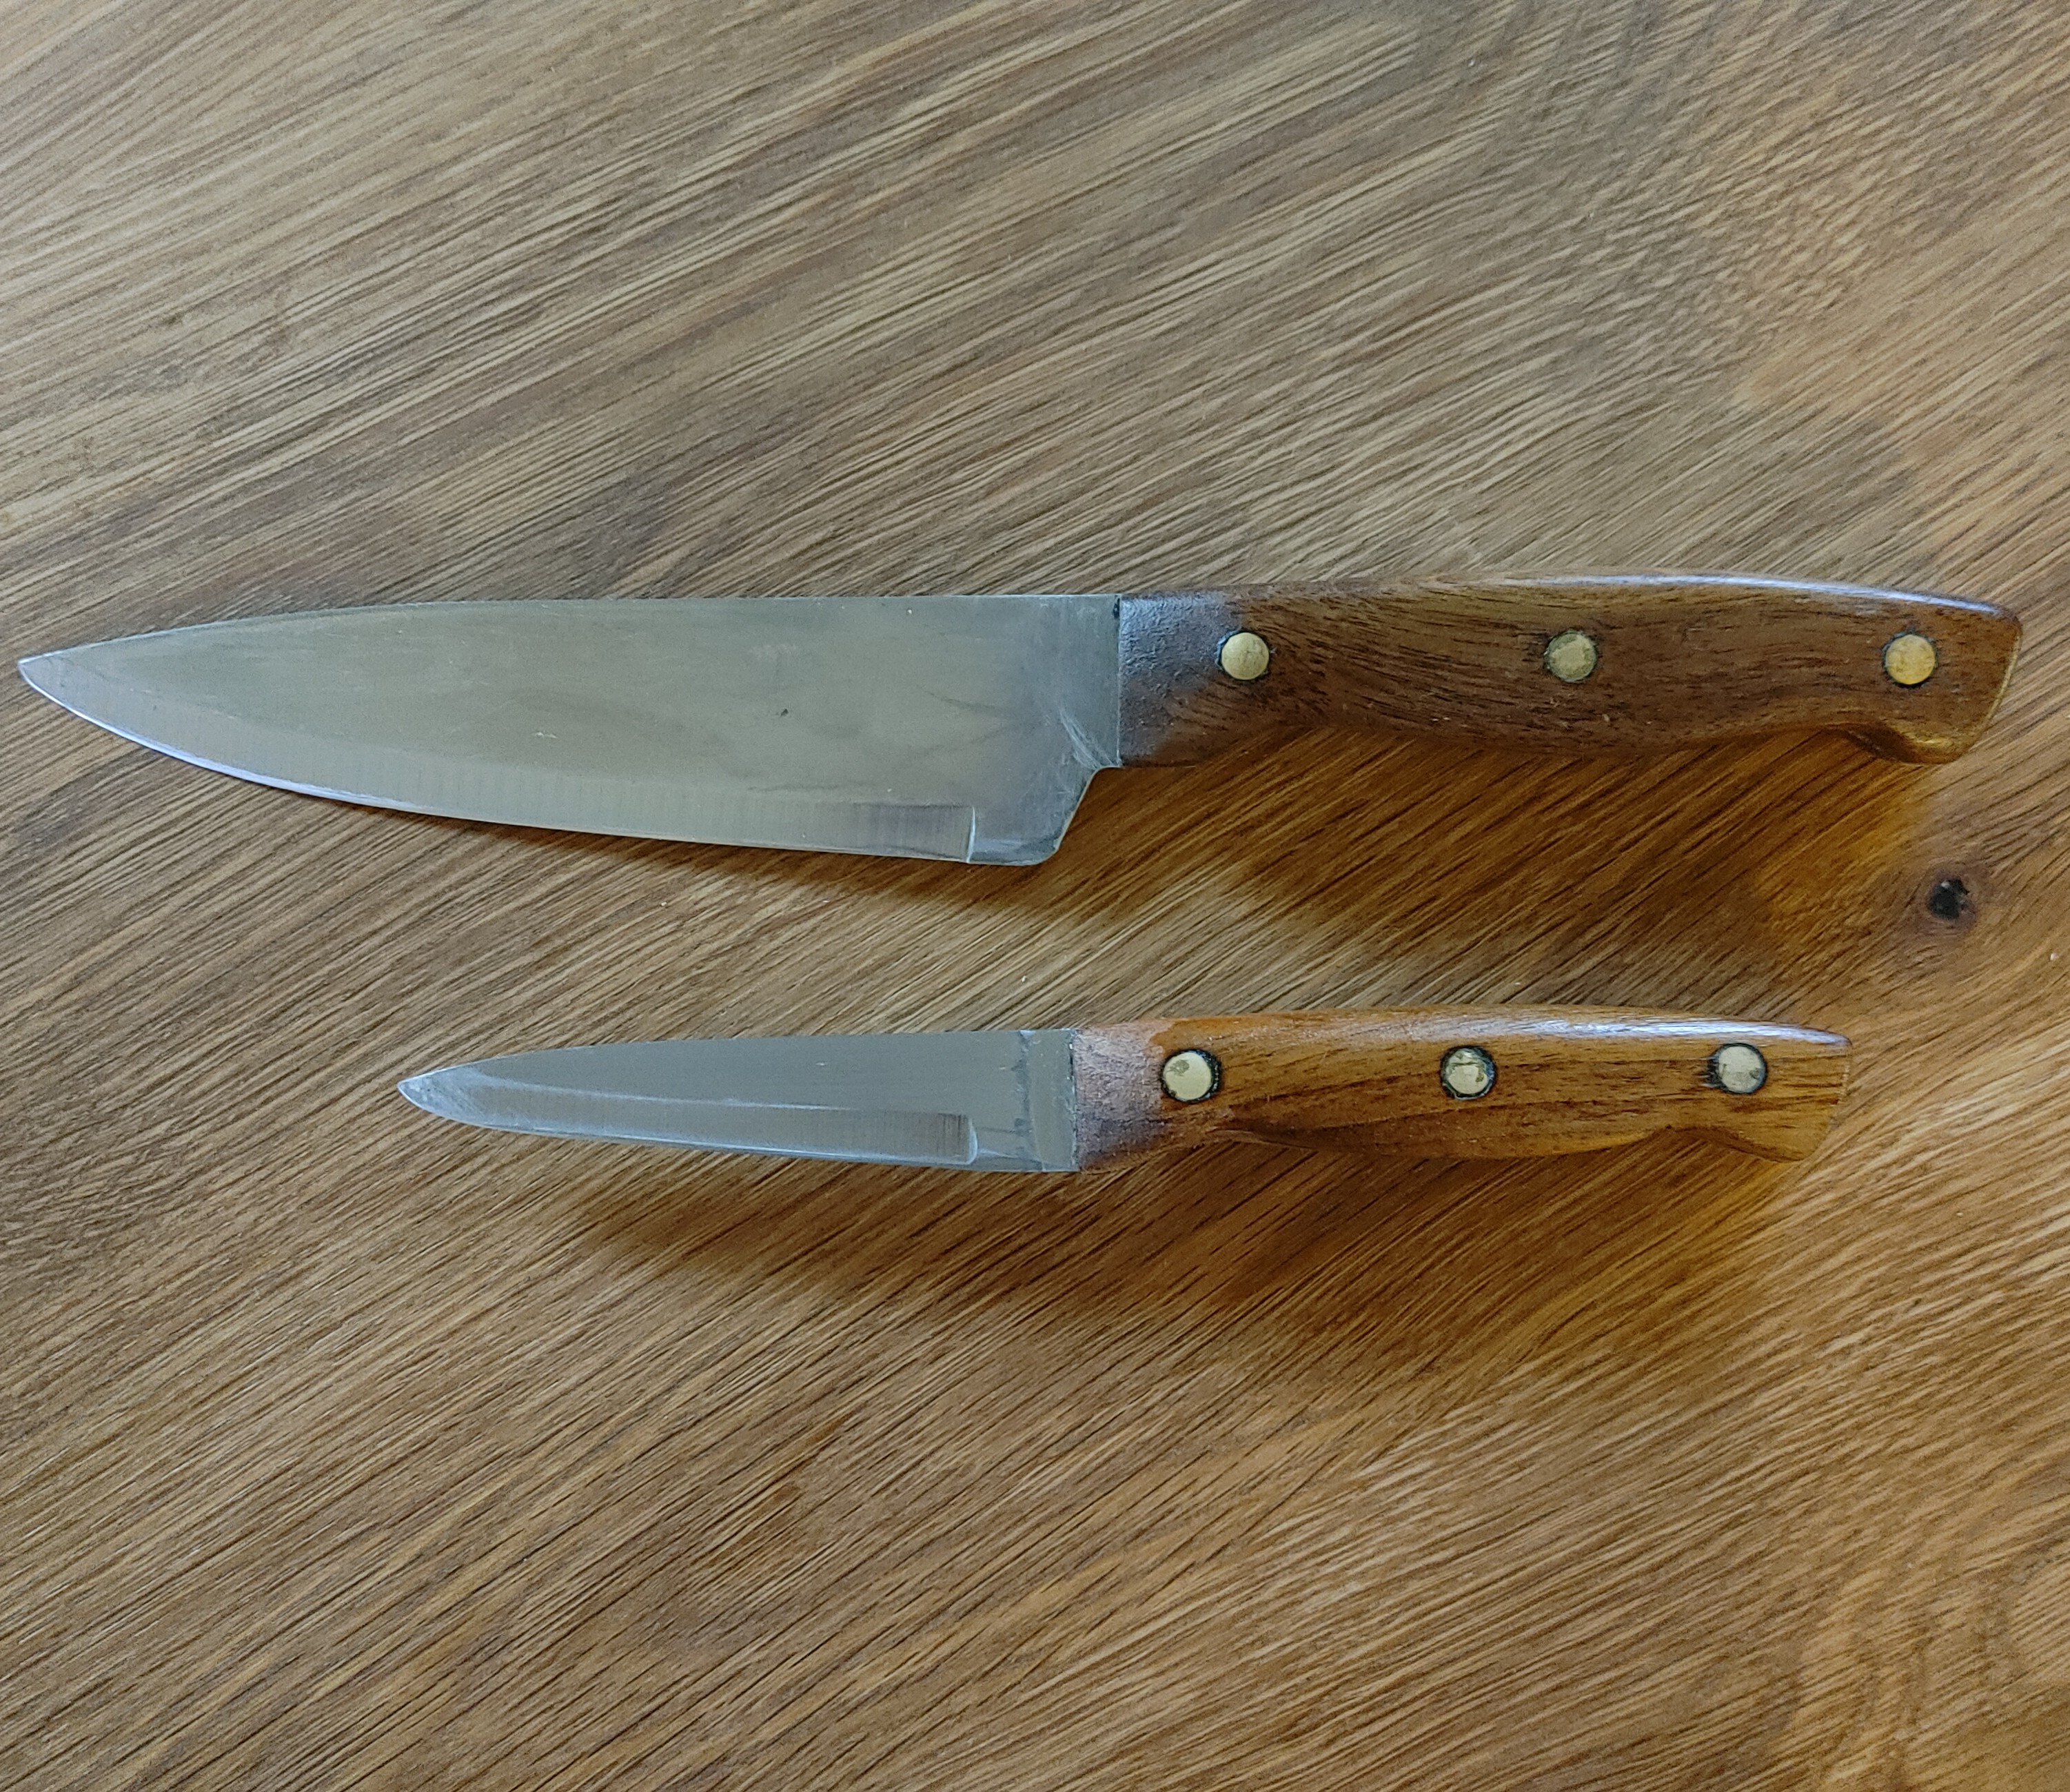
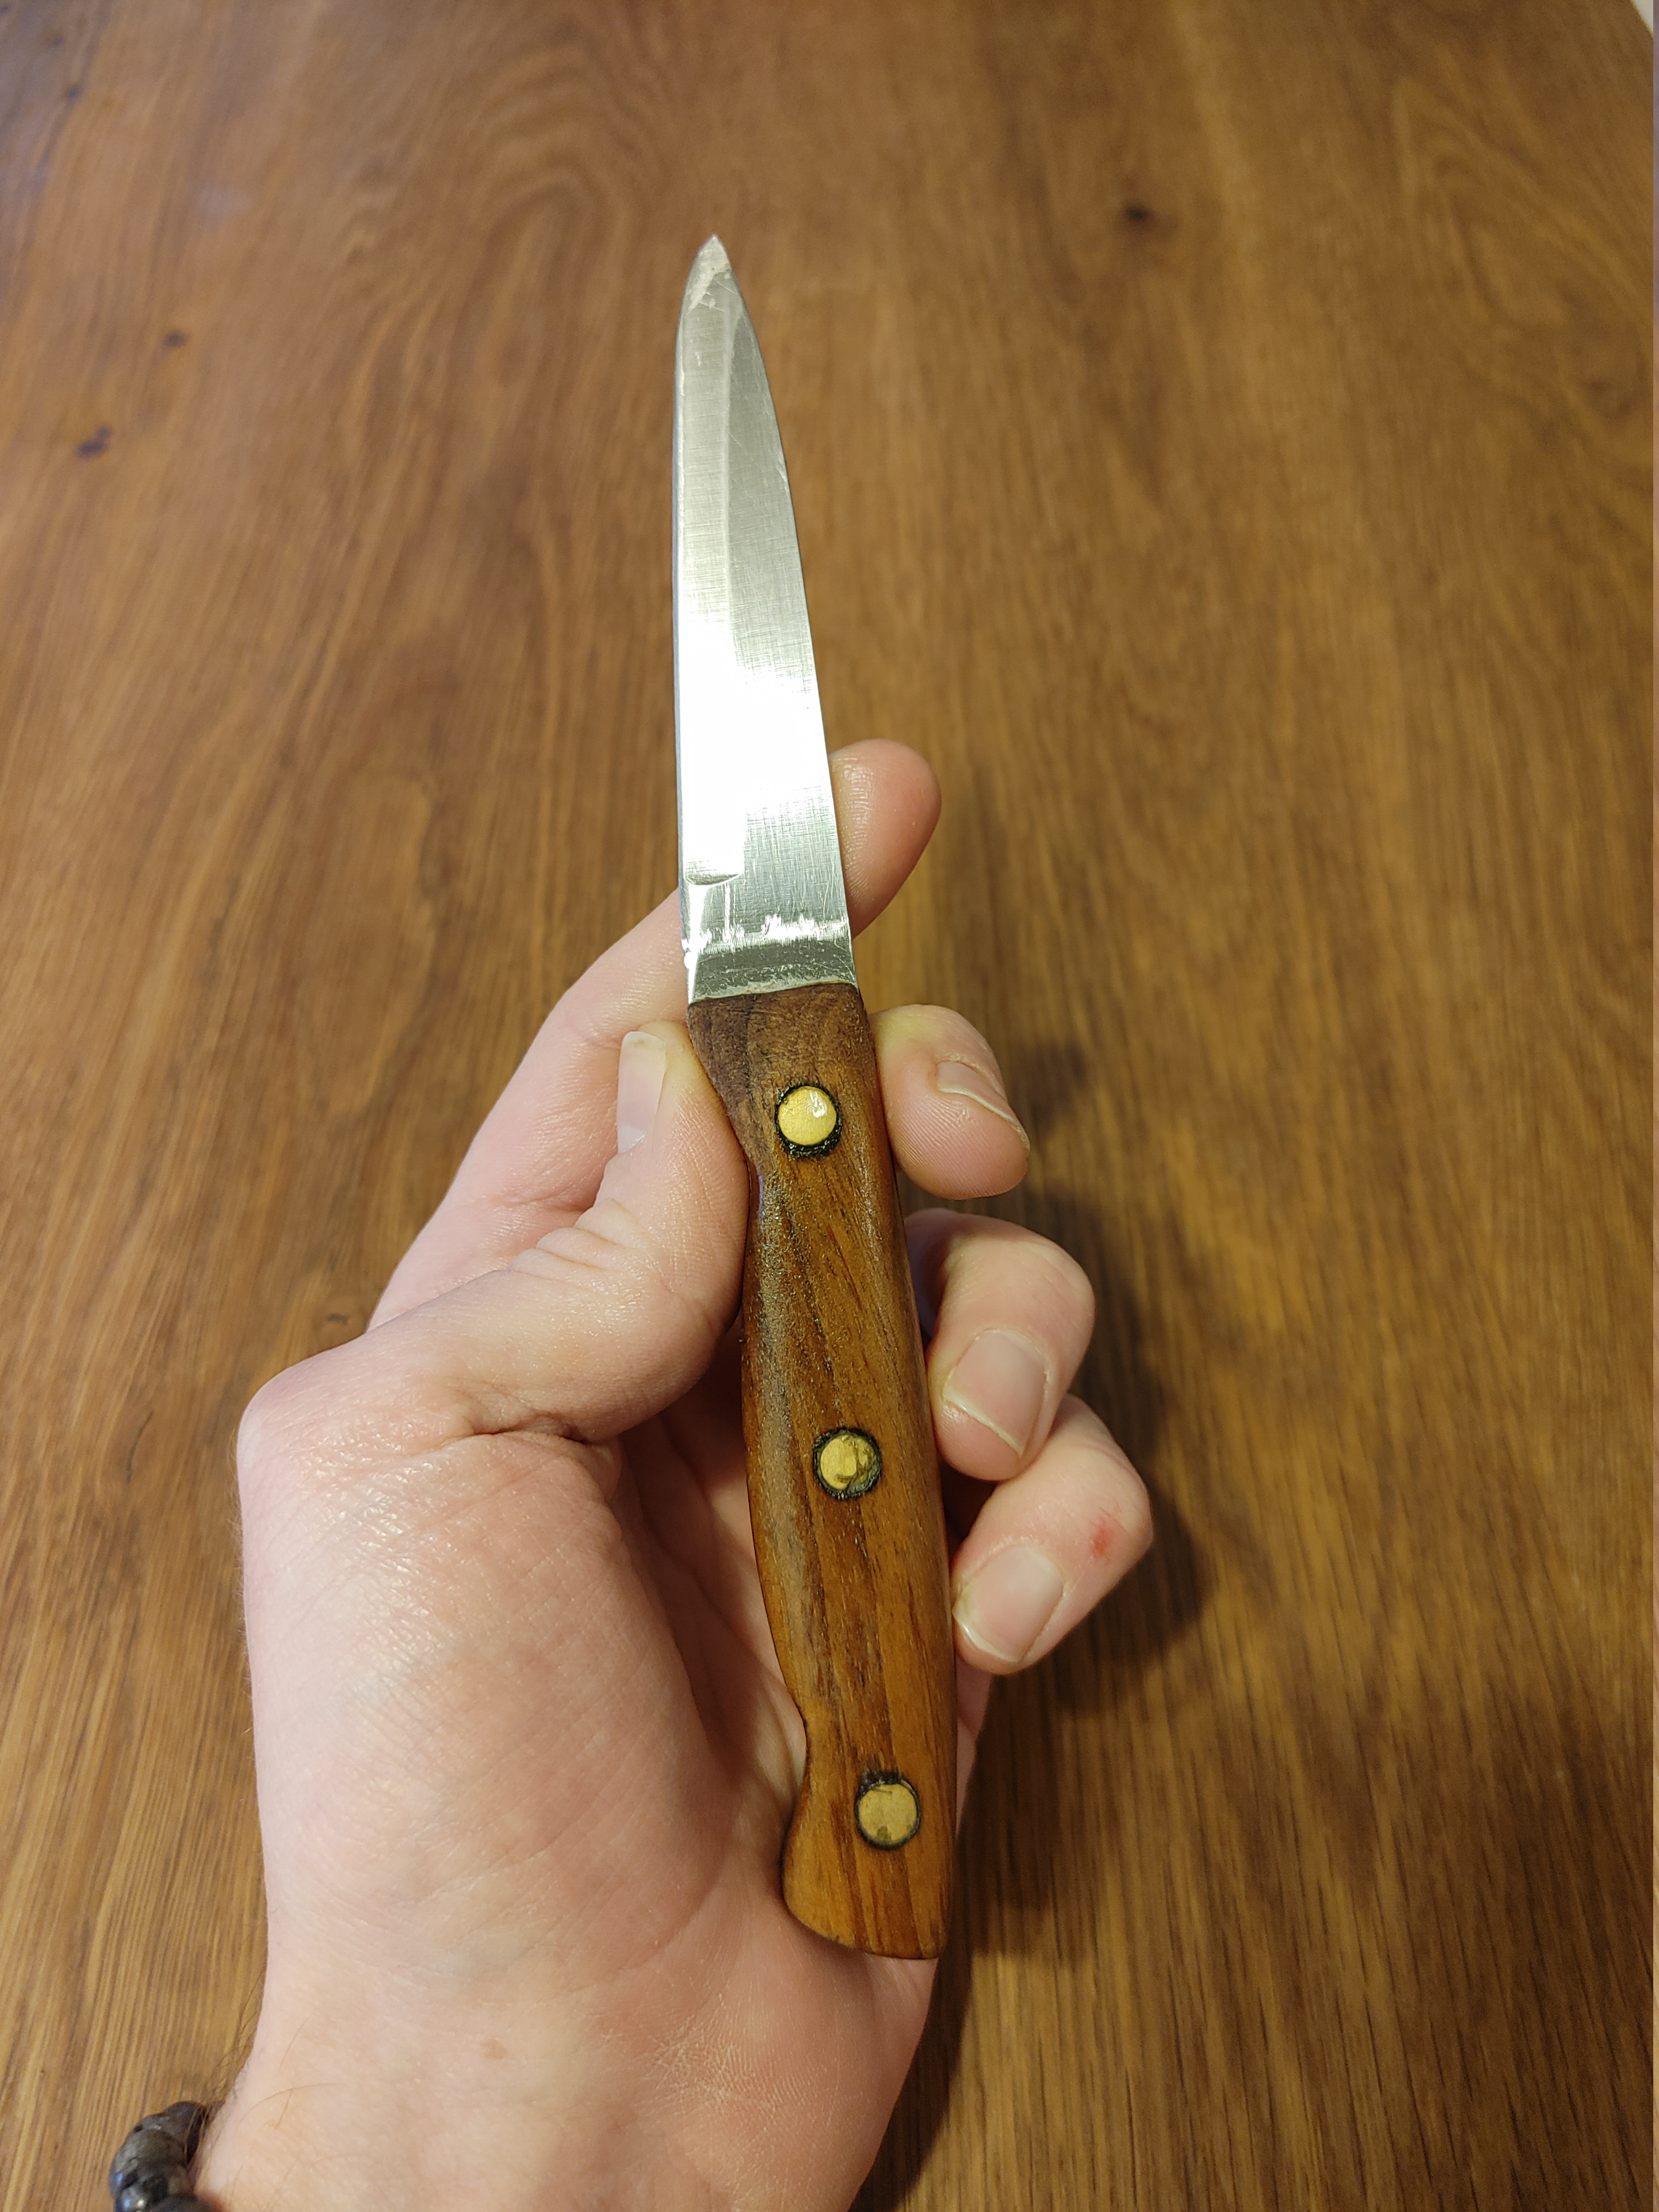
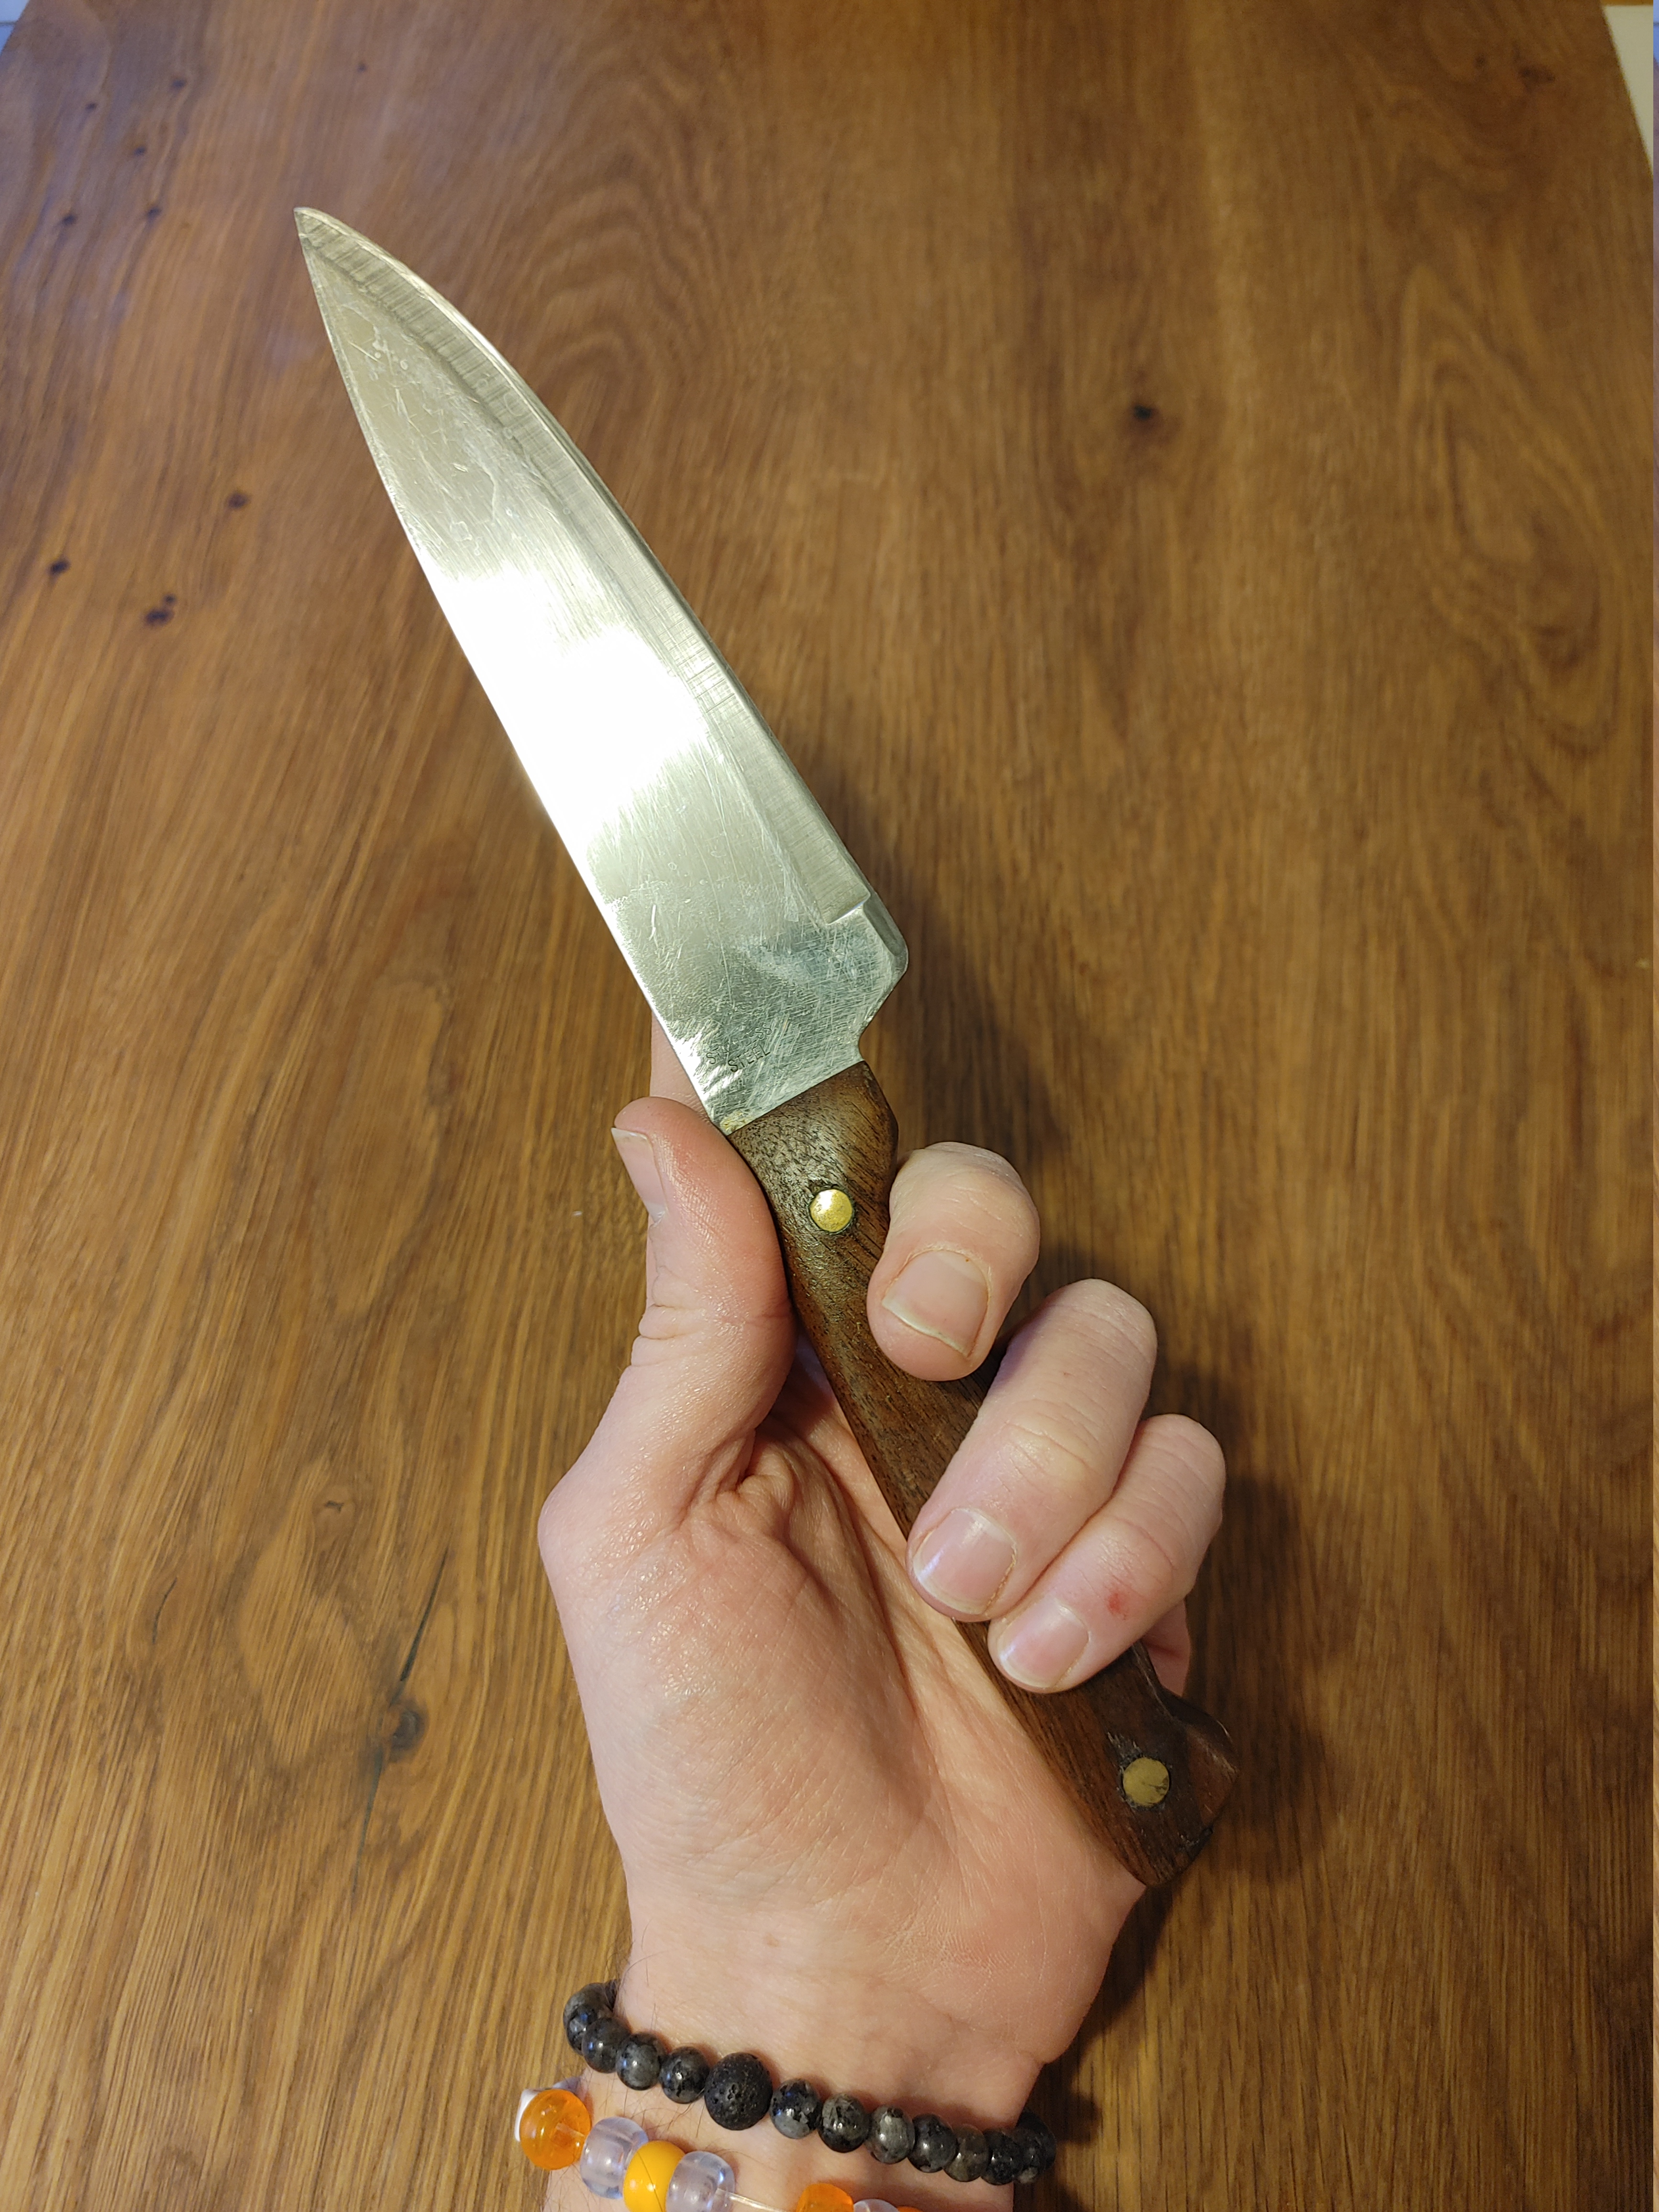
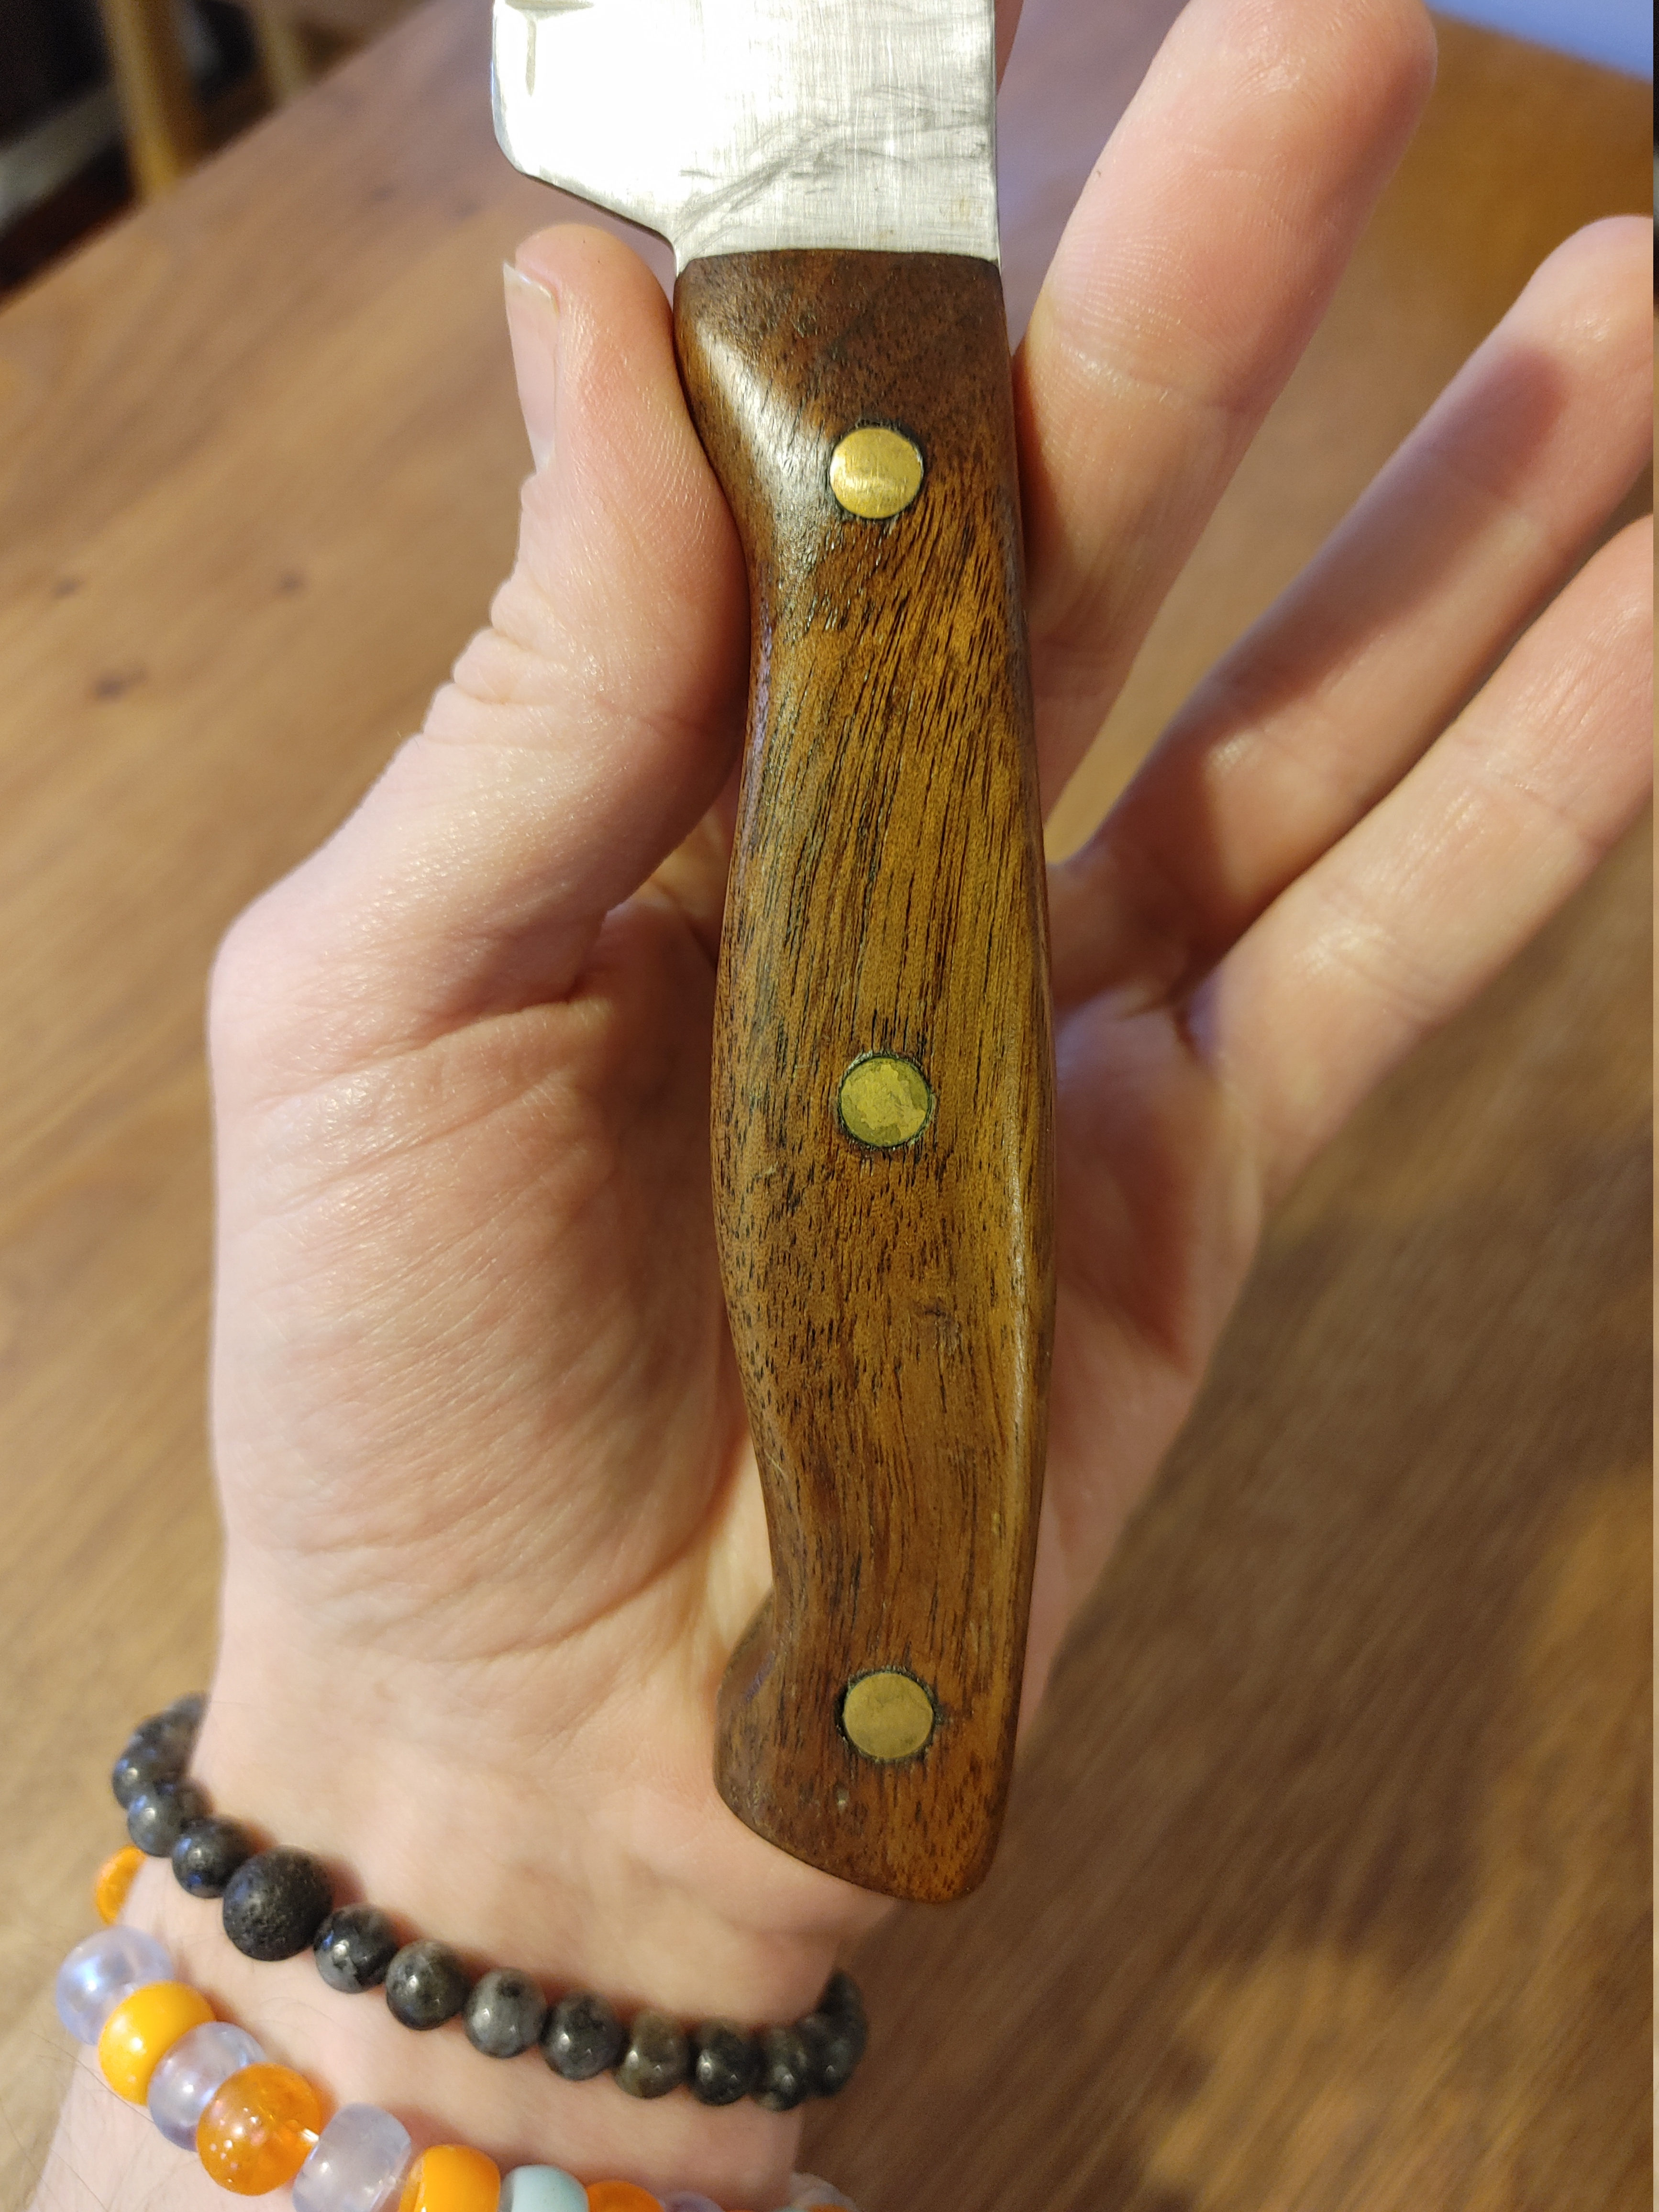
These knives started life as a modest set that one might get from a big box store. They had black plastic handles, and were decently sharp. I decided to remove the handles and attach custom one made from black walnut. The pairing knife was the first one I tried. Getting through the rivets was a struggle, and I burned through two colbalt bits before I got though them. Before I did any handle work, I posished the blade and sharpened it as much as my skill could allow. To make the handle, I rough cut the walnut piece to a bit over the final dimensions. Using a oscilating cutting tool, I cut a course version of the profile. Detailed tight corners called for a coping saw. A scroll saw is probably the better tool for this, but it wasnt so bad. At this point, it was time to attach the pins. I decided on a small diameter brass rod for the task. However, the holes in the blade had to be widened for the rods, so even more drilling! Eventually, I managed to squeeze everything together, to the point that I barely needed glue. Finally, I got to the point of shaping it. A combination of a orbital sander and hand sanding slowly revealed the shape underneath. The nice thing about making your own handle is that you can shape it exactly as you like, if you take your time with it. In the pictures below you'll see that there is a different tone to the wood around the bolster where I recently sanded away more material to shape it a little nicer. And then finally, to seal it and make it resistant to all the work it needs to do, I applied a bit of mineral oil and bee's wax. This is what gives it the incredible warm color in the wood too. The process was largely the same for the chef knife, but things went a bit easier with the practice under my belt. The only change was that I tried to file away the heel to extend the blade all the way back, which is my prefered.
**Lessons**:
- I didn't find out until much later, but there are shops that sell small pieces of wood specifically for knife handles. These are called "scales". It probably wouldnt make much difference for this project though.
- Use oil extensively when drilling metal
## Outdoor Crate Table
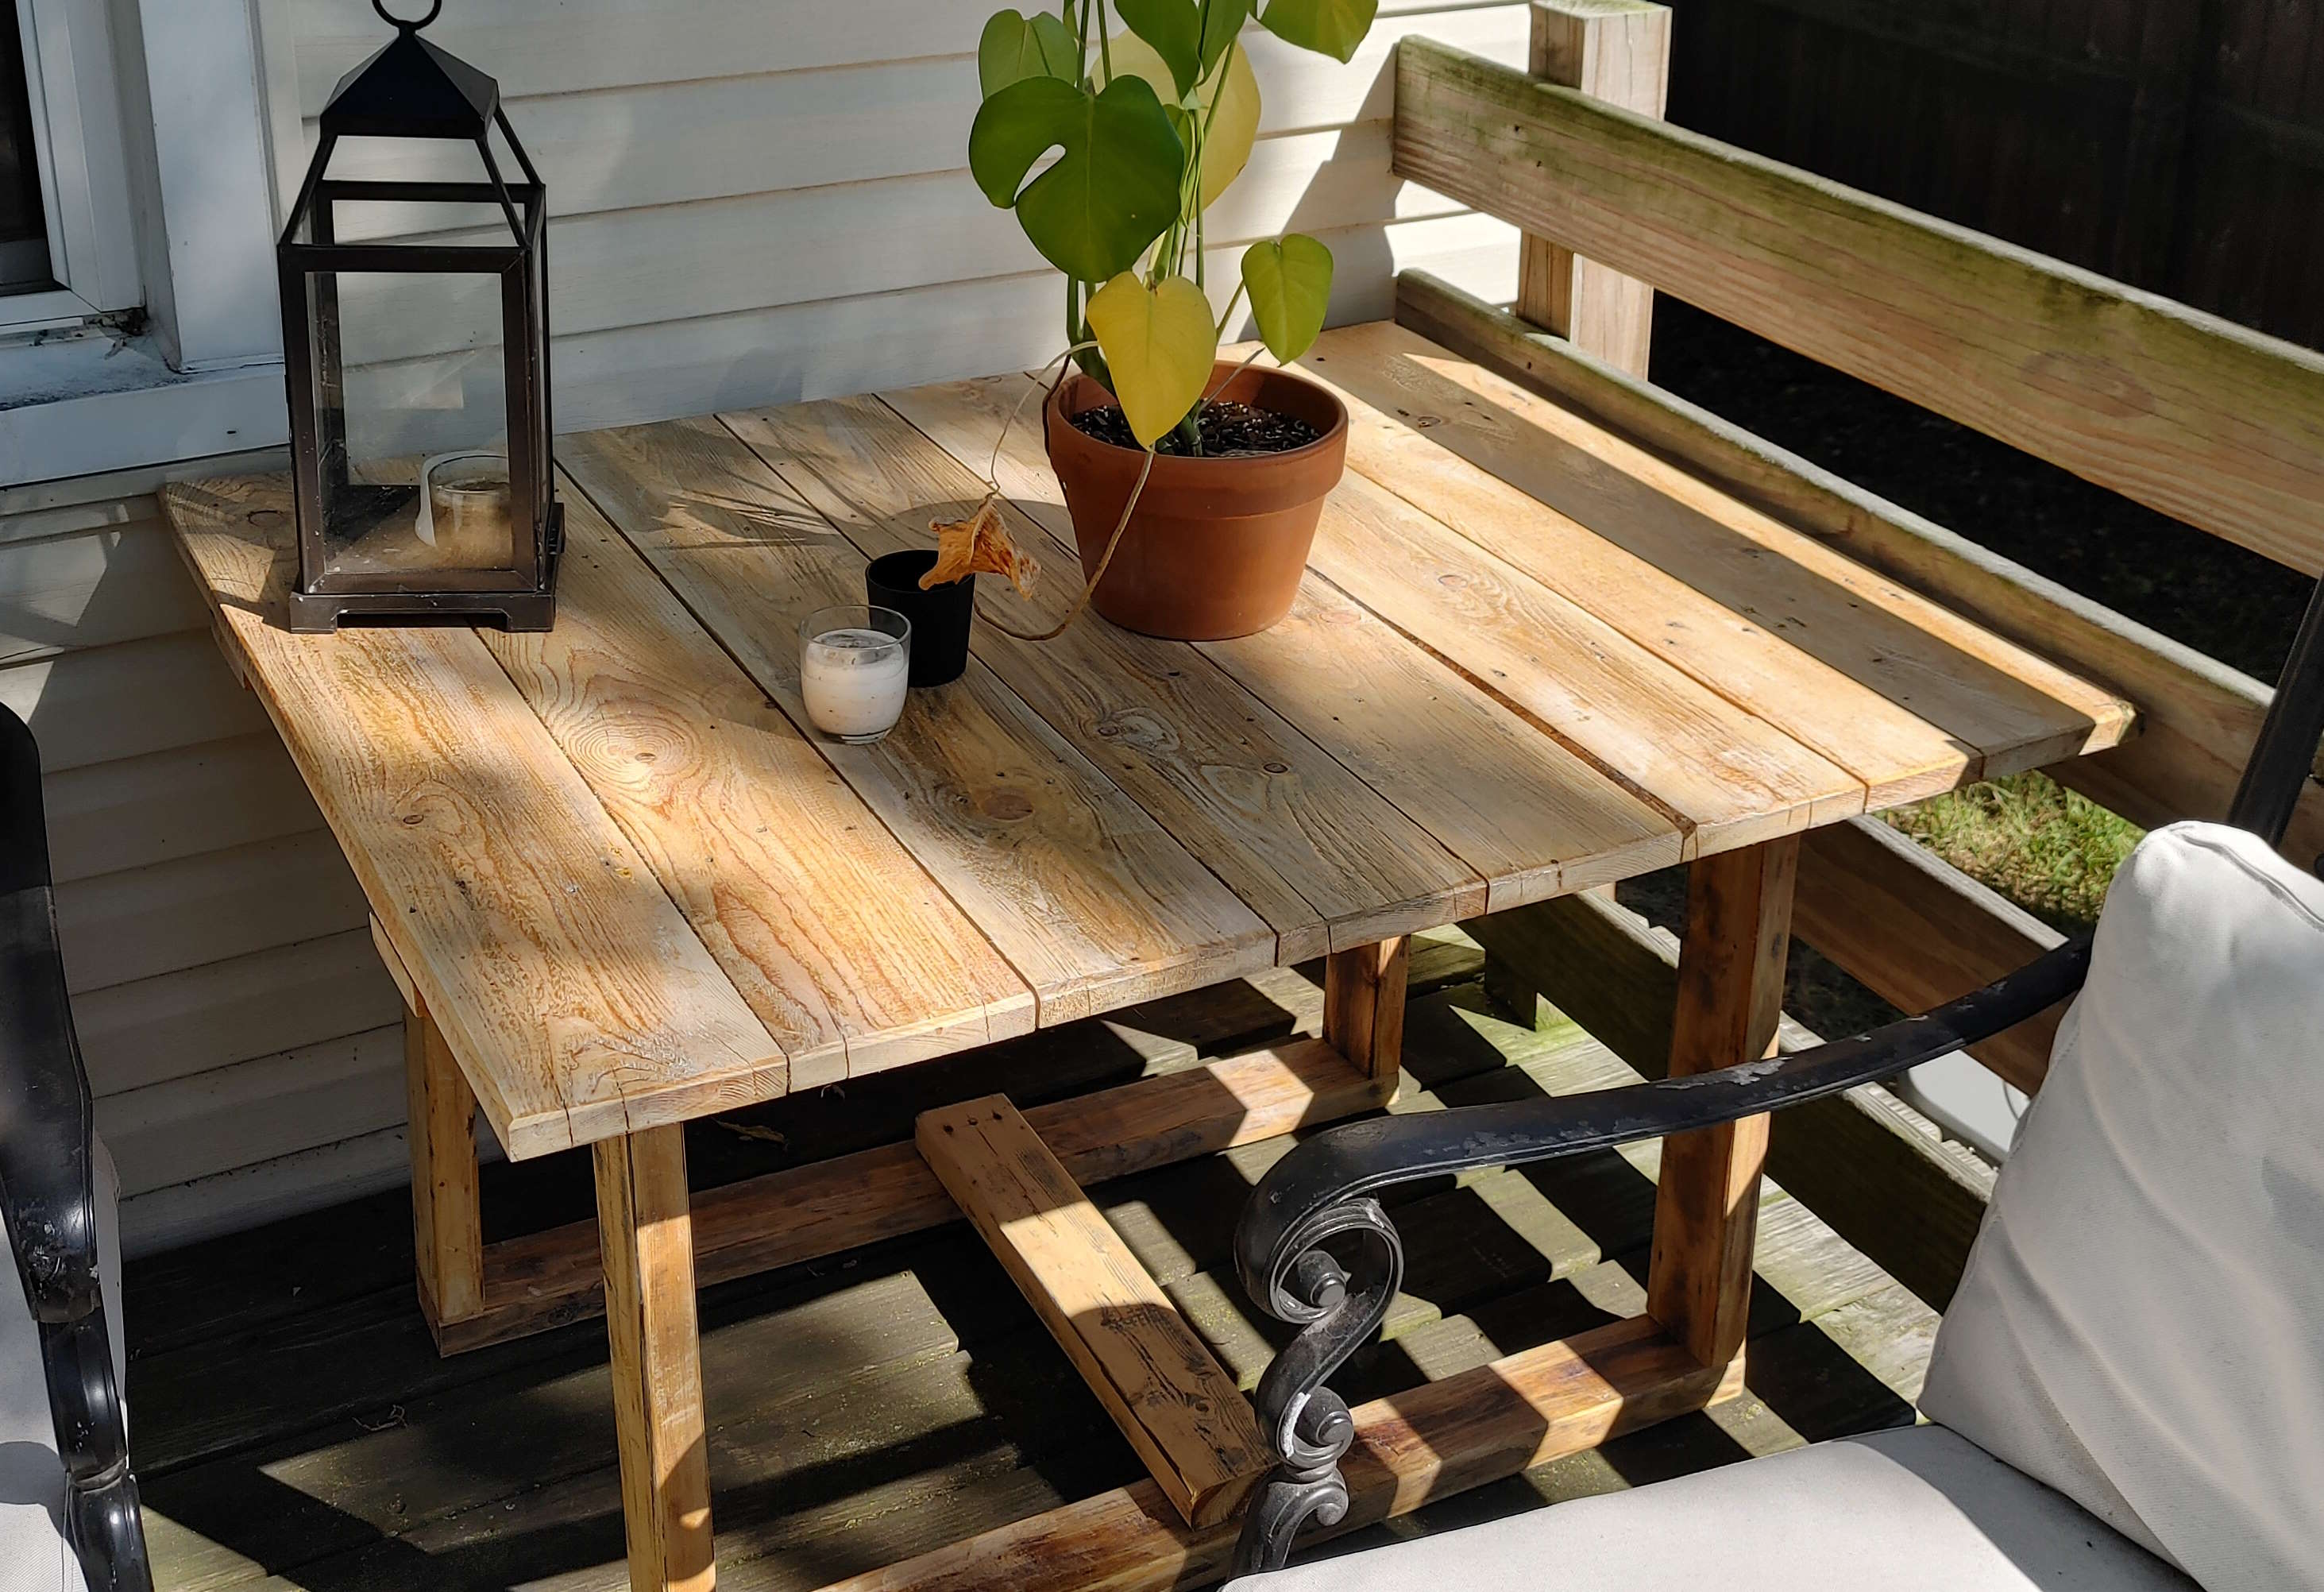
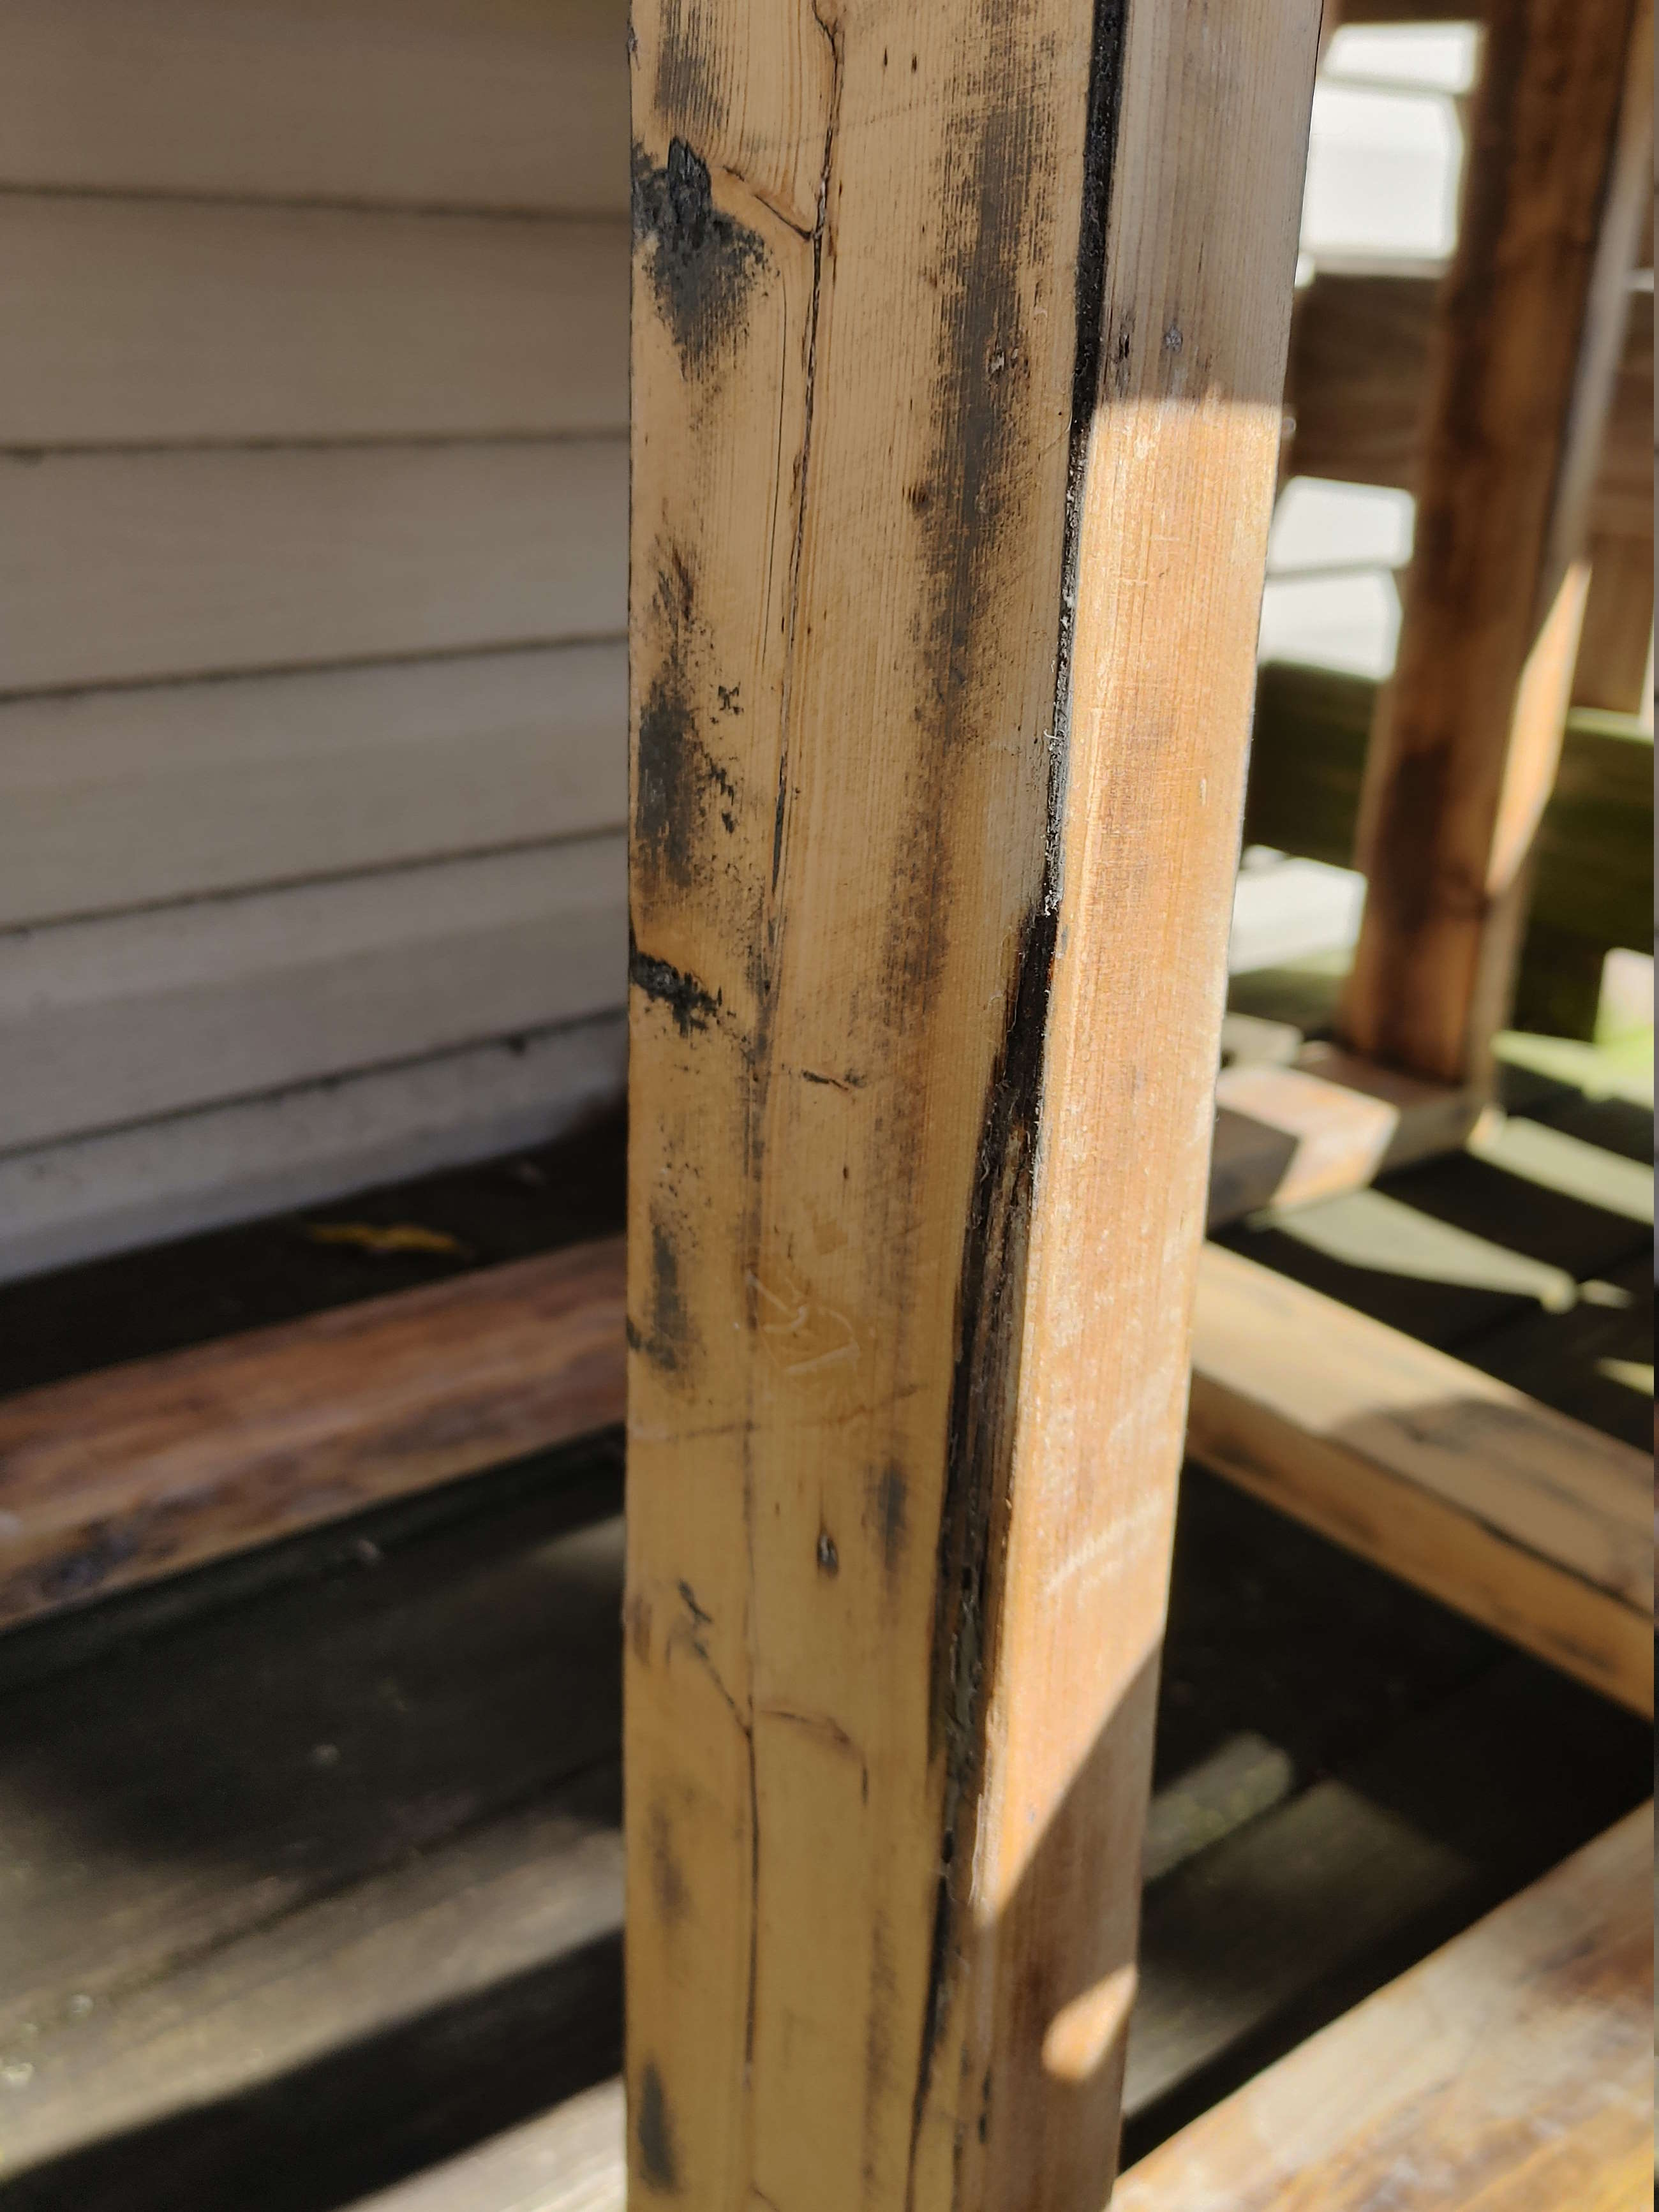
I built this after grabbing a piece of a broken down crate off the side of the road. I started with cutting it down to a much more manageable size. Then I took some of the old somewhat rotted pieces of lumber from behind my shed and sanded those down to the raw wood underneath. These might not last forever, but I always appreciate recycling materials whenever possible. They ended up looking very rustic and reclaimed. A coat of polyurethane on everything, a light sanding, and we are good to assemble. All in all, this project just took a weekend. Which is good because any more effort than that for the results would have been kind of embarrassing.
**Lessons**:
- Sand the surface down, *then* apply polyurethane
- When trashy wood is sanded down, it looks somewhat nice
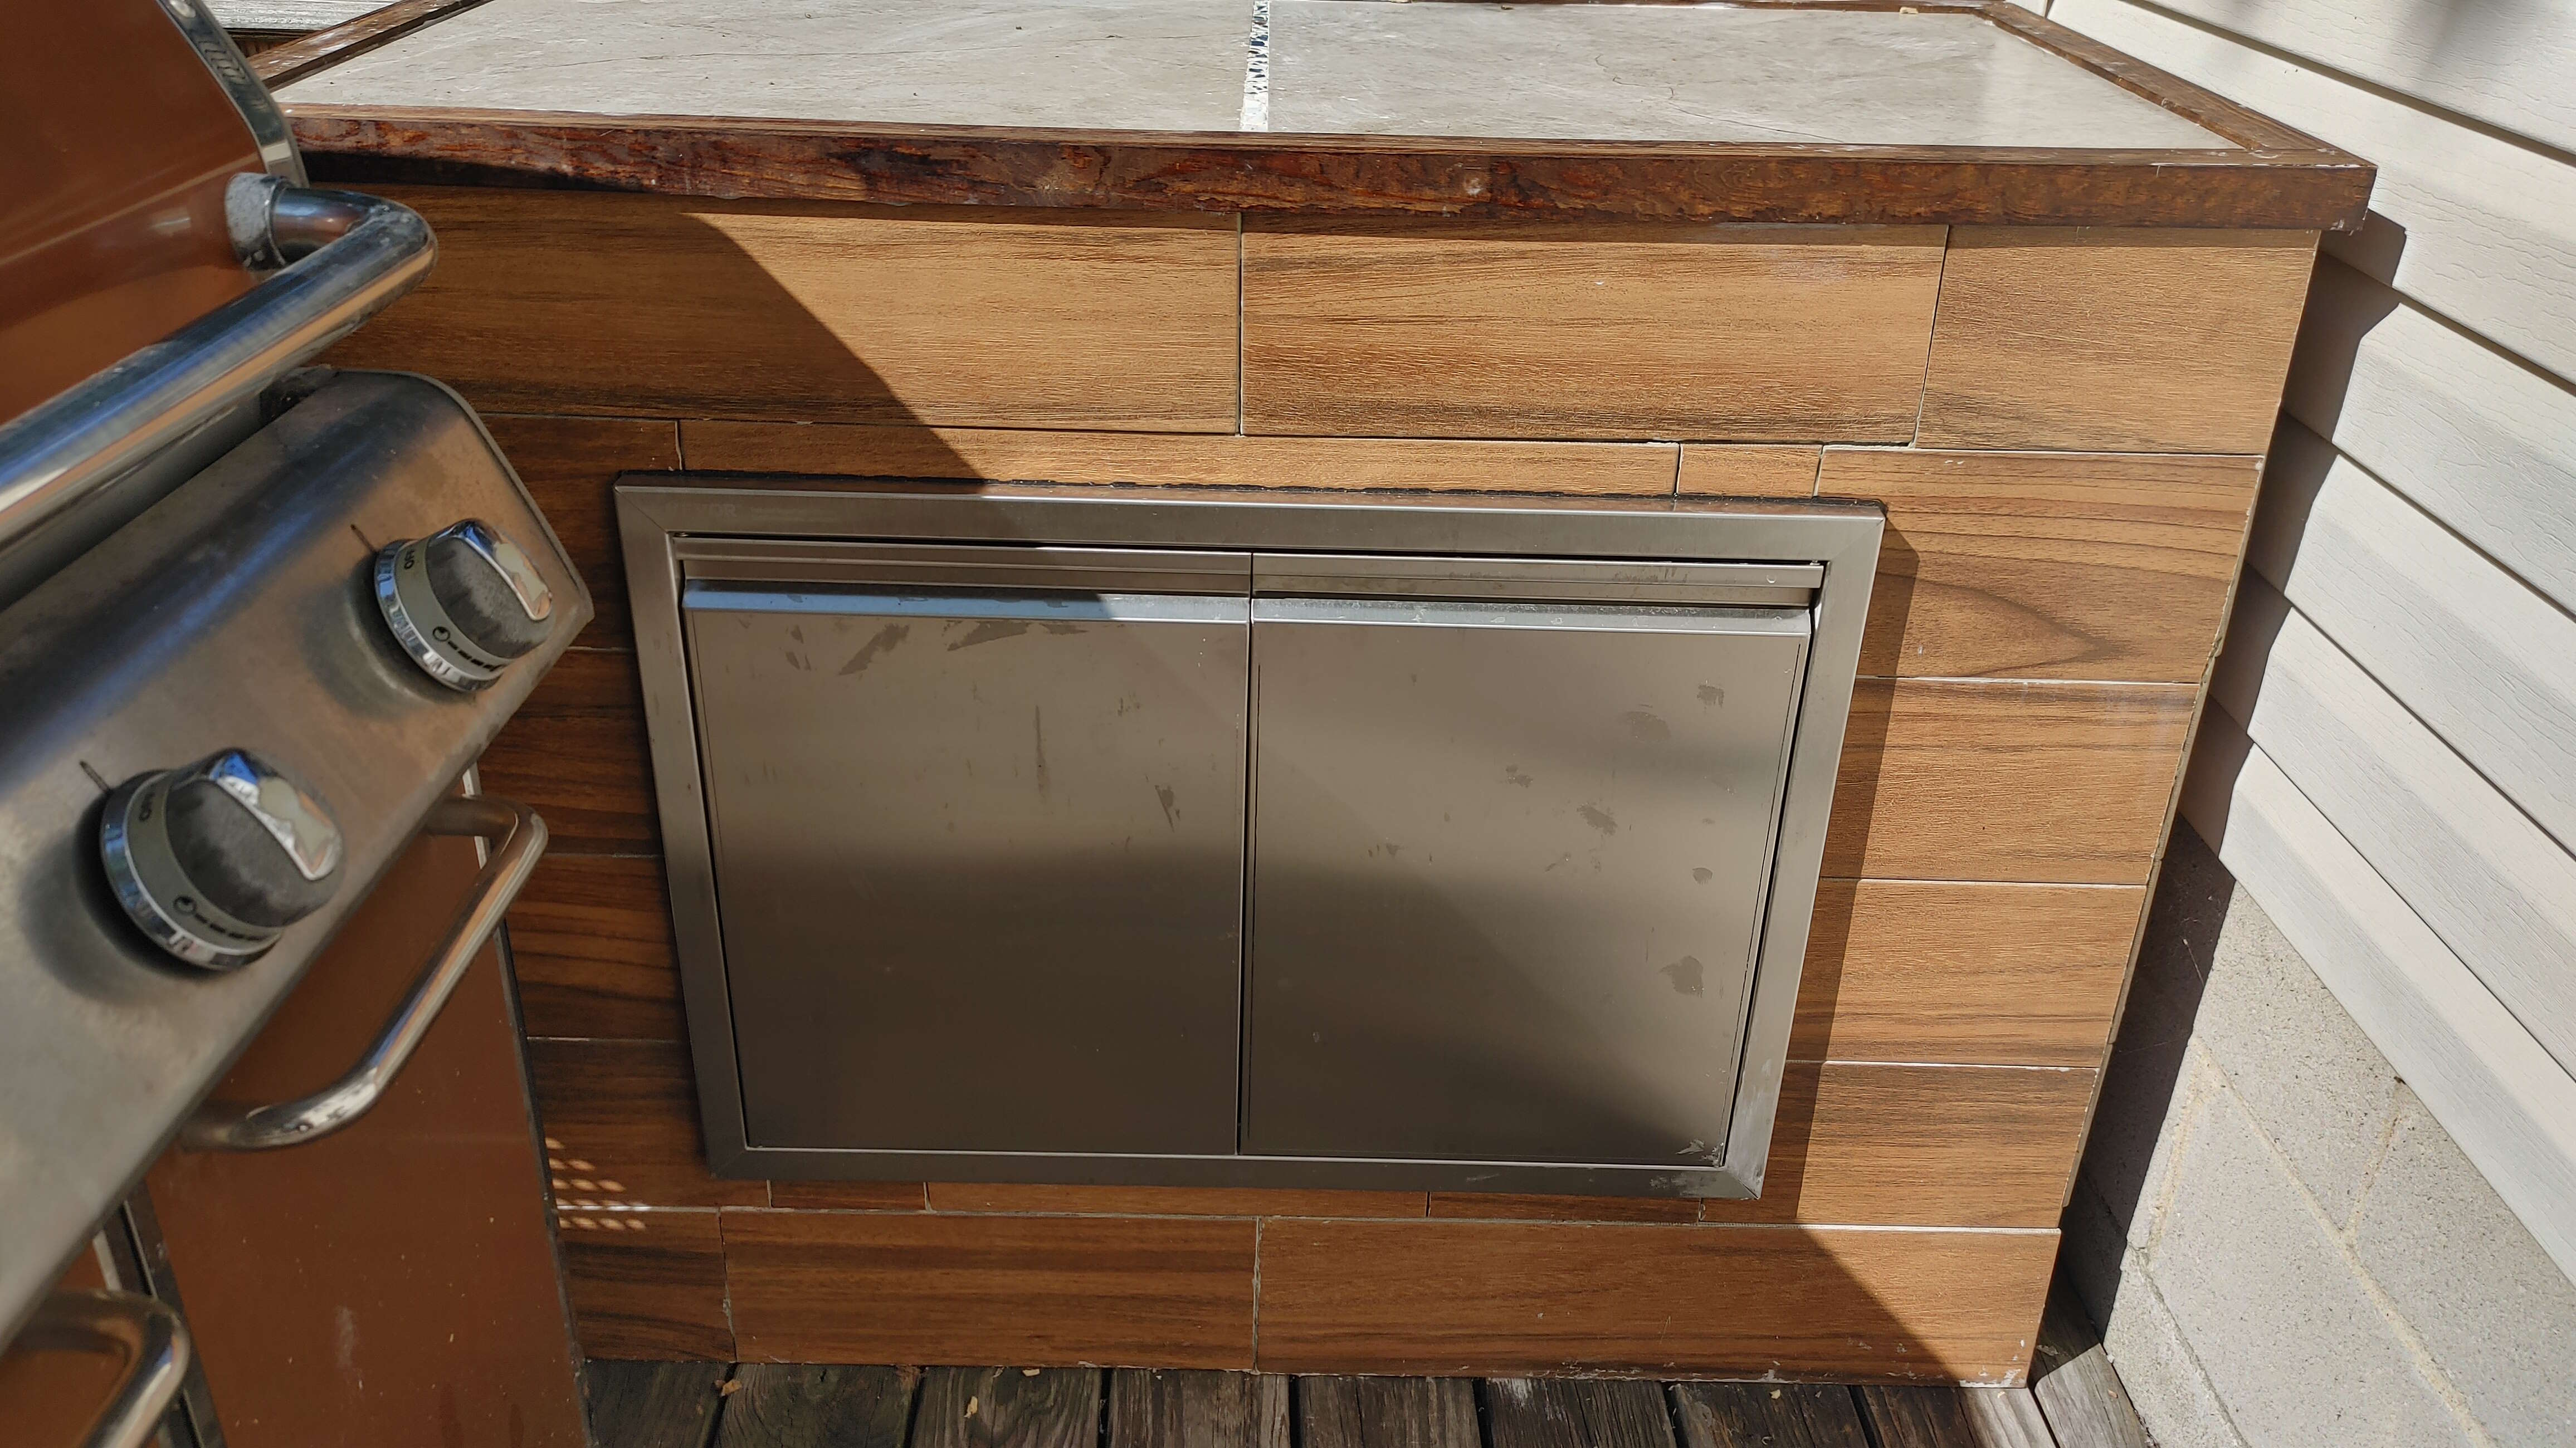
## Outdoor Kitchen Island
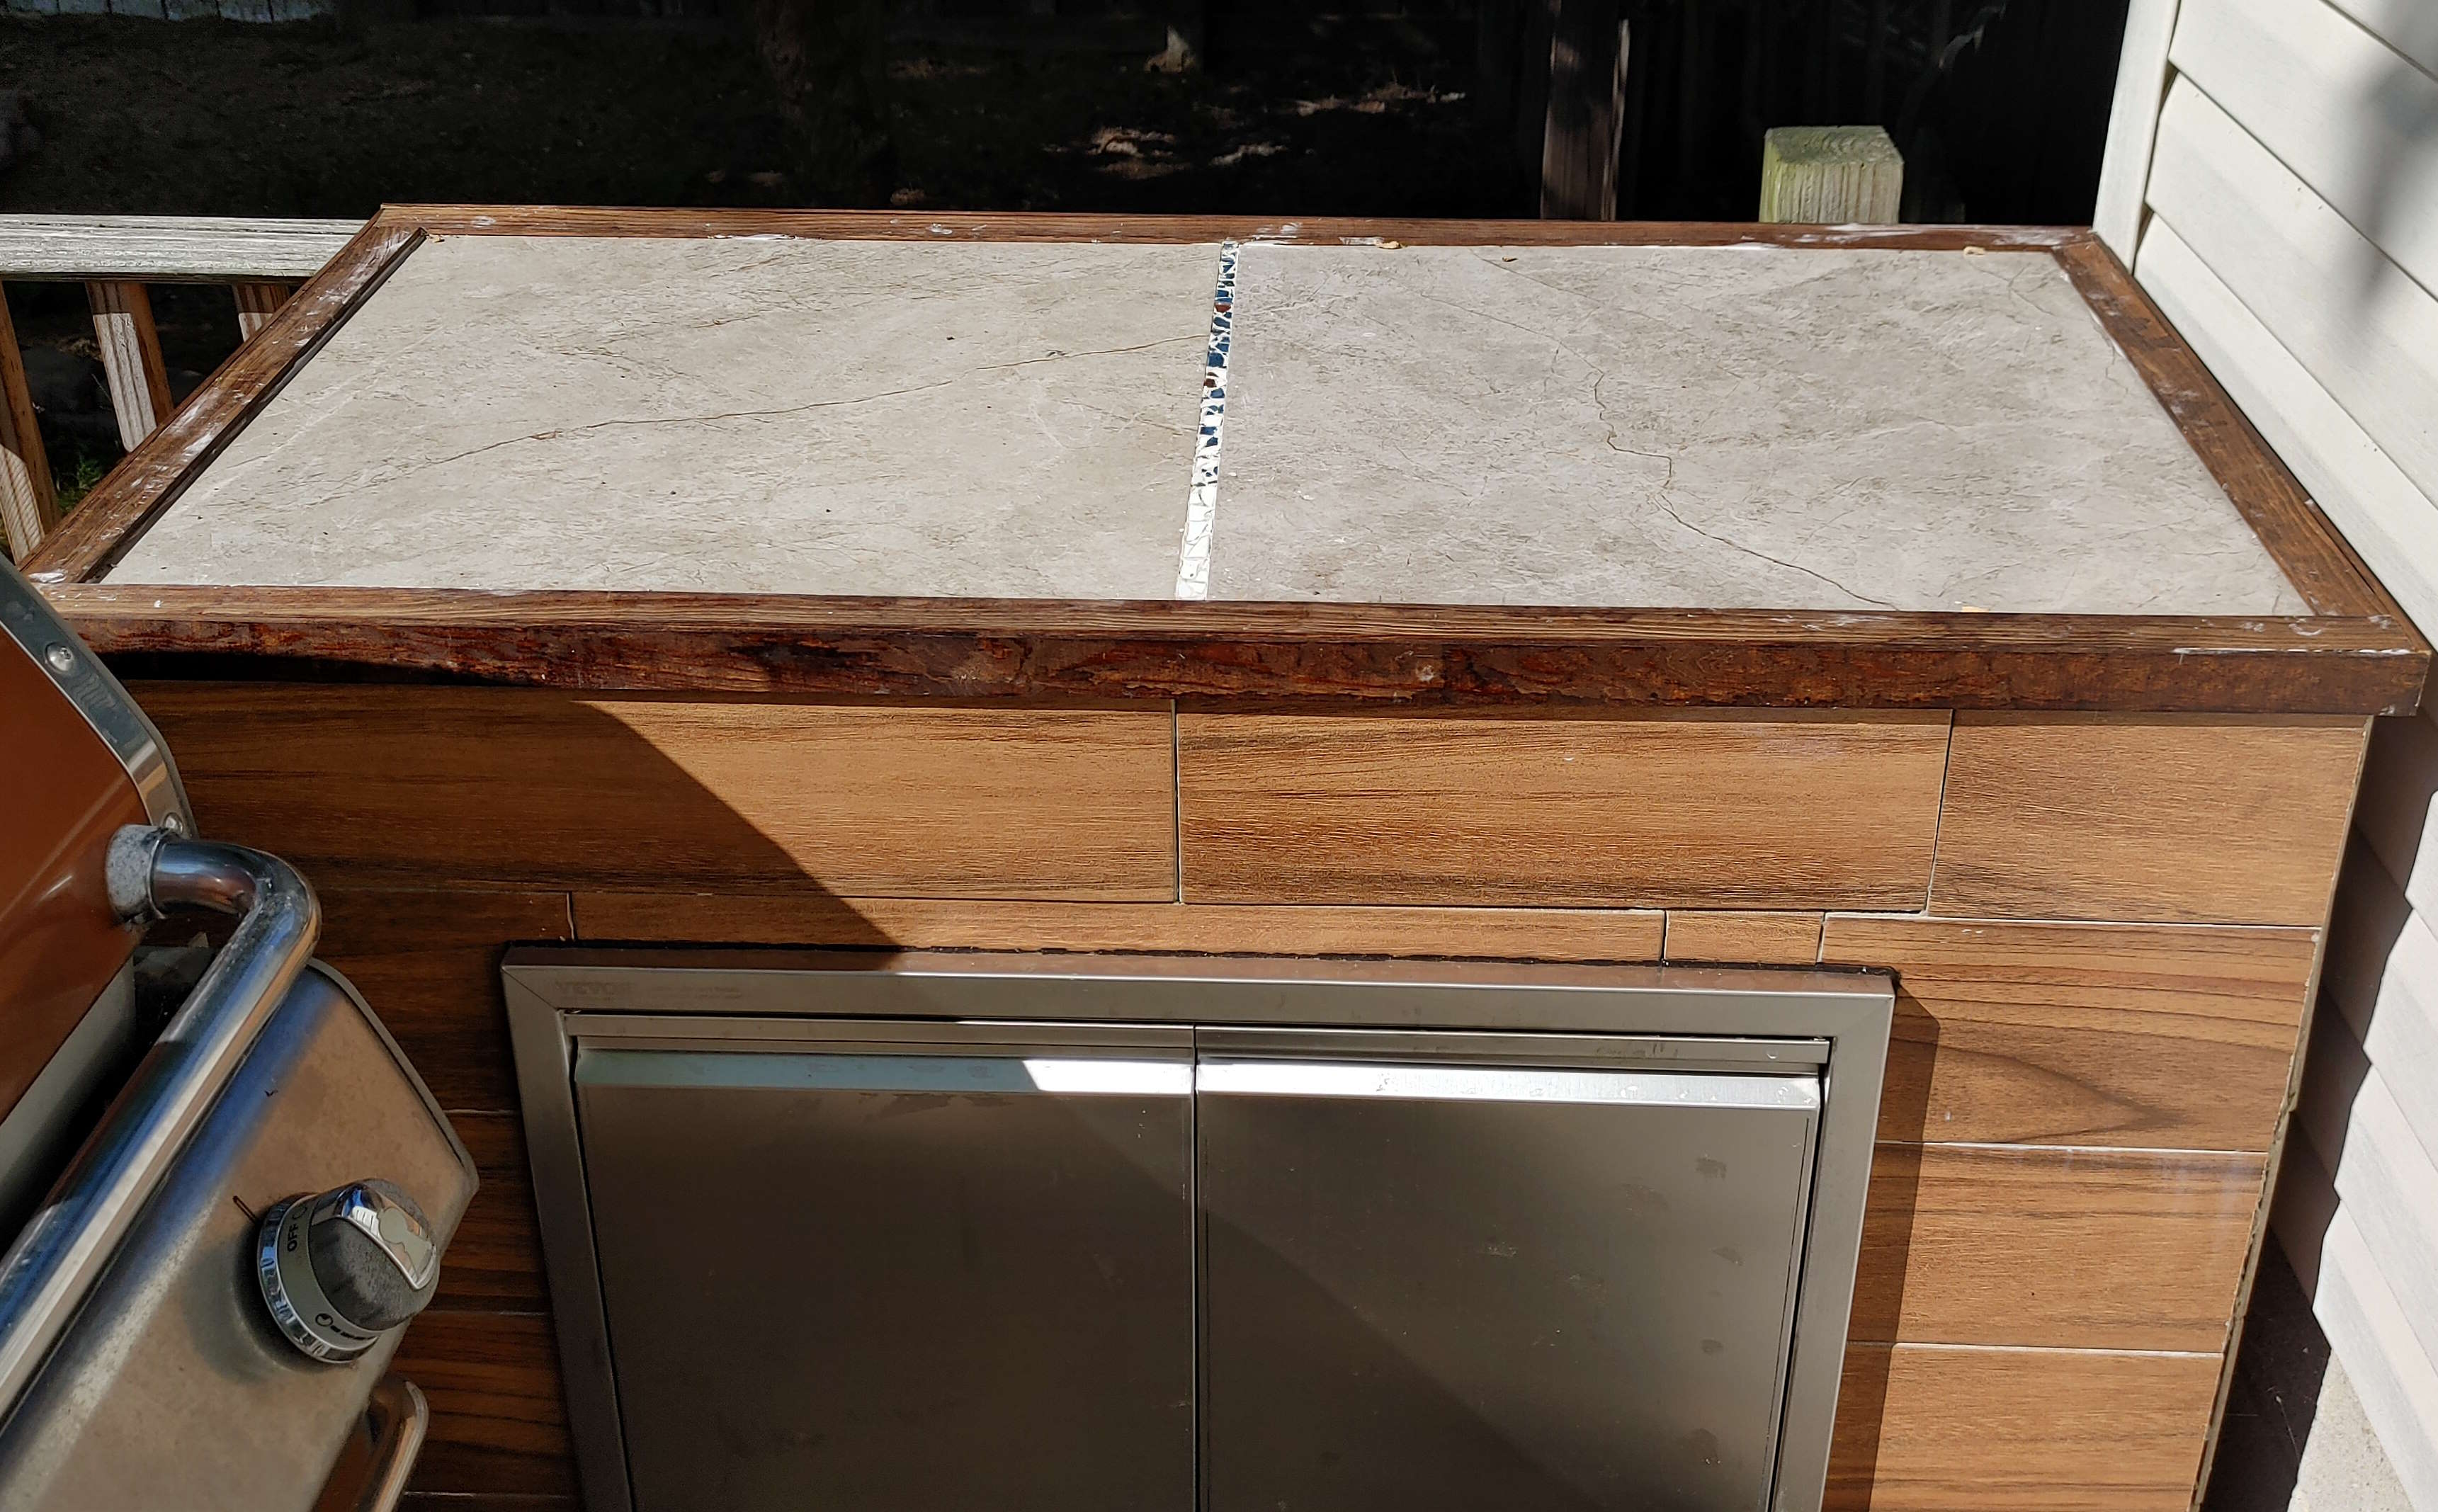
This project seemed to go so wrong in so many ways and I just wanted it to be done. The purpose of this one was to have a little outdoor counter to make grilling a little easier. its constructed with a 2x4 wood frame and plywood siding and top. That was the easy part. For the exterior, I wanted something weatherproof, obviously. I got a lot of input on what to try, but I decided to use tiles. I have never done outdoor tiling, or really any sort of tiling and man was that a learning experience. Turns out if you don't know what the mortar mixture should look like, you should probably measure the ingredients, rather than just eyeballing it. When I applied the first batch, it was very droopy and the tiles did not want to stay put. I had also cut it such that the top surface was 2 feet by 4 feet however the (allegedly) 2 foot by 2 foot tiles for the top were only 23.5". I have experienced this issue with dimensional lumber before, but I didn't think it would affect tiles too. In any case, I had an inch gap to contend with in the middle of the countertop. I decided to fill it with some broken pieces of ceramics. I created a gradient to add a little uniqueness to it, but I'm not sure how much I like it. The doors on the front are a premade product which made it very easy to attach. Finally a few wooden trim pieces "completed" the build.
**Lessons**:
- Measure the mortar ingredients
- Apply a thick enough layer
- Start from the bottom row (not sure if that is general best practice but that would have made everything look a bit nicer)
- Don't assume anything is the advertised size

## Kitchen Island
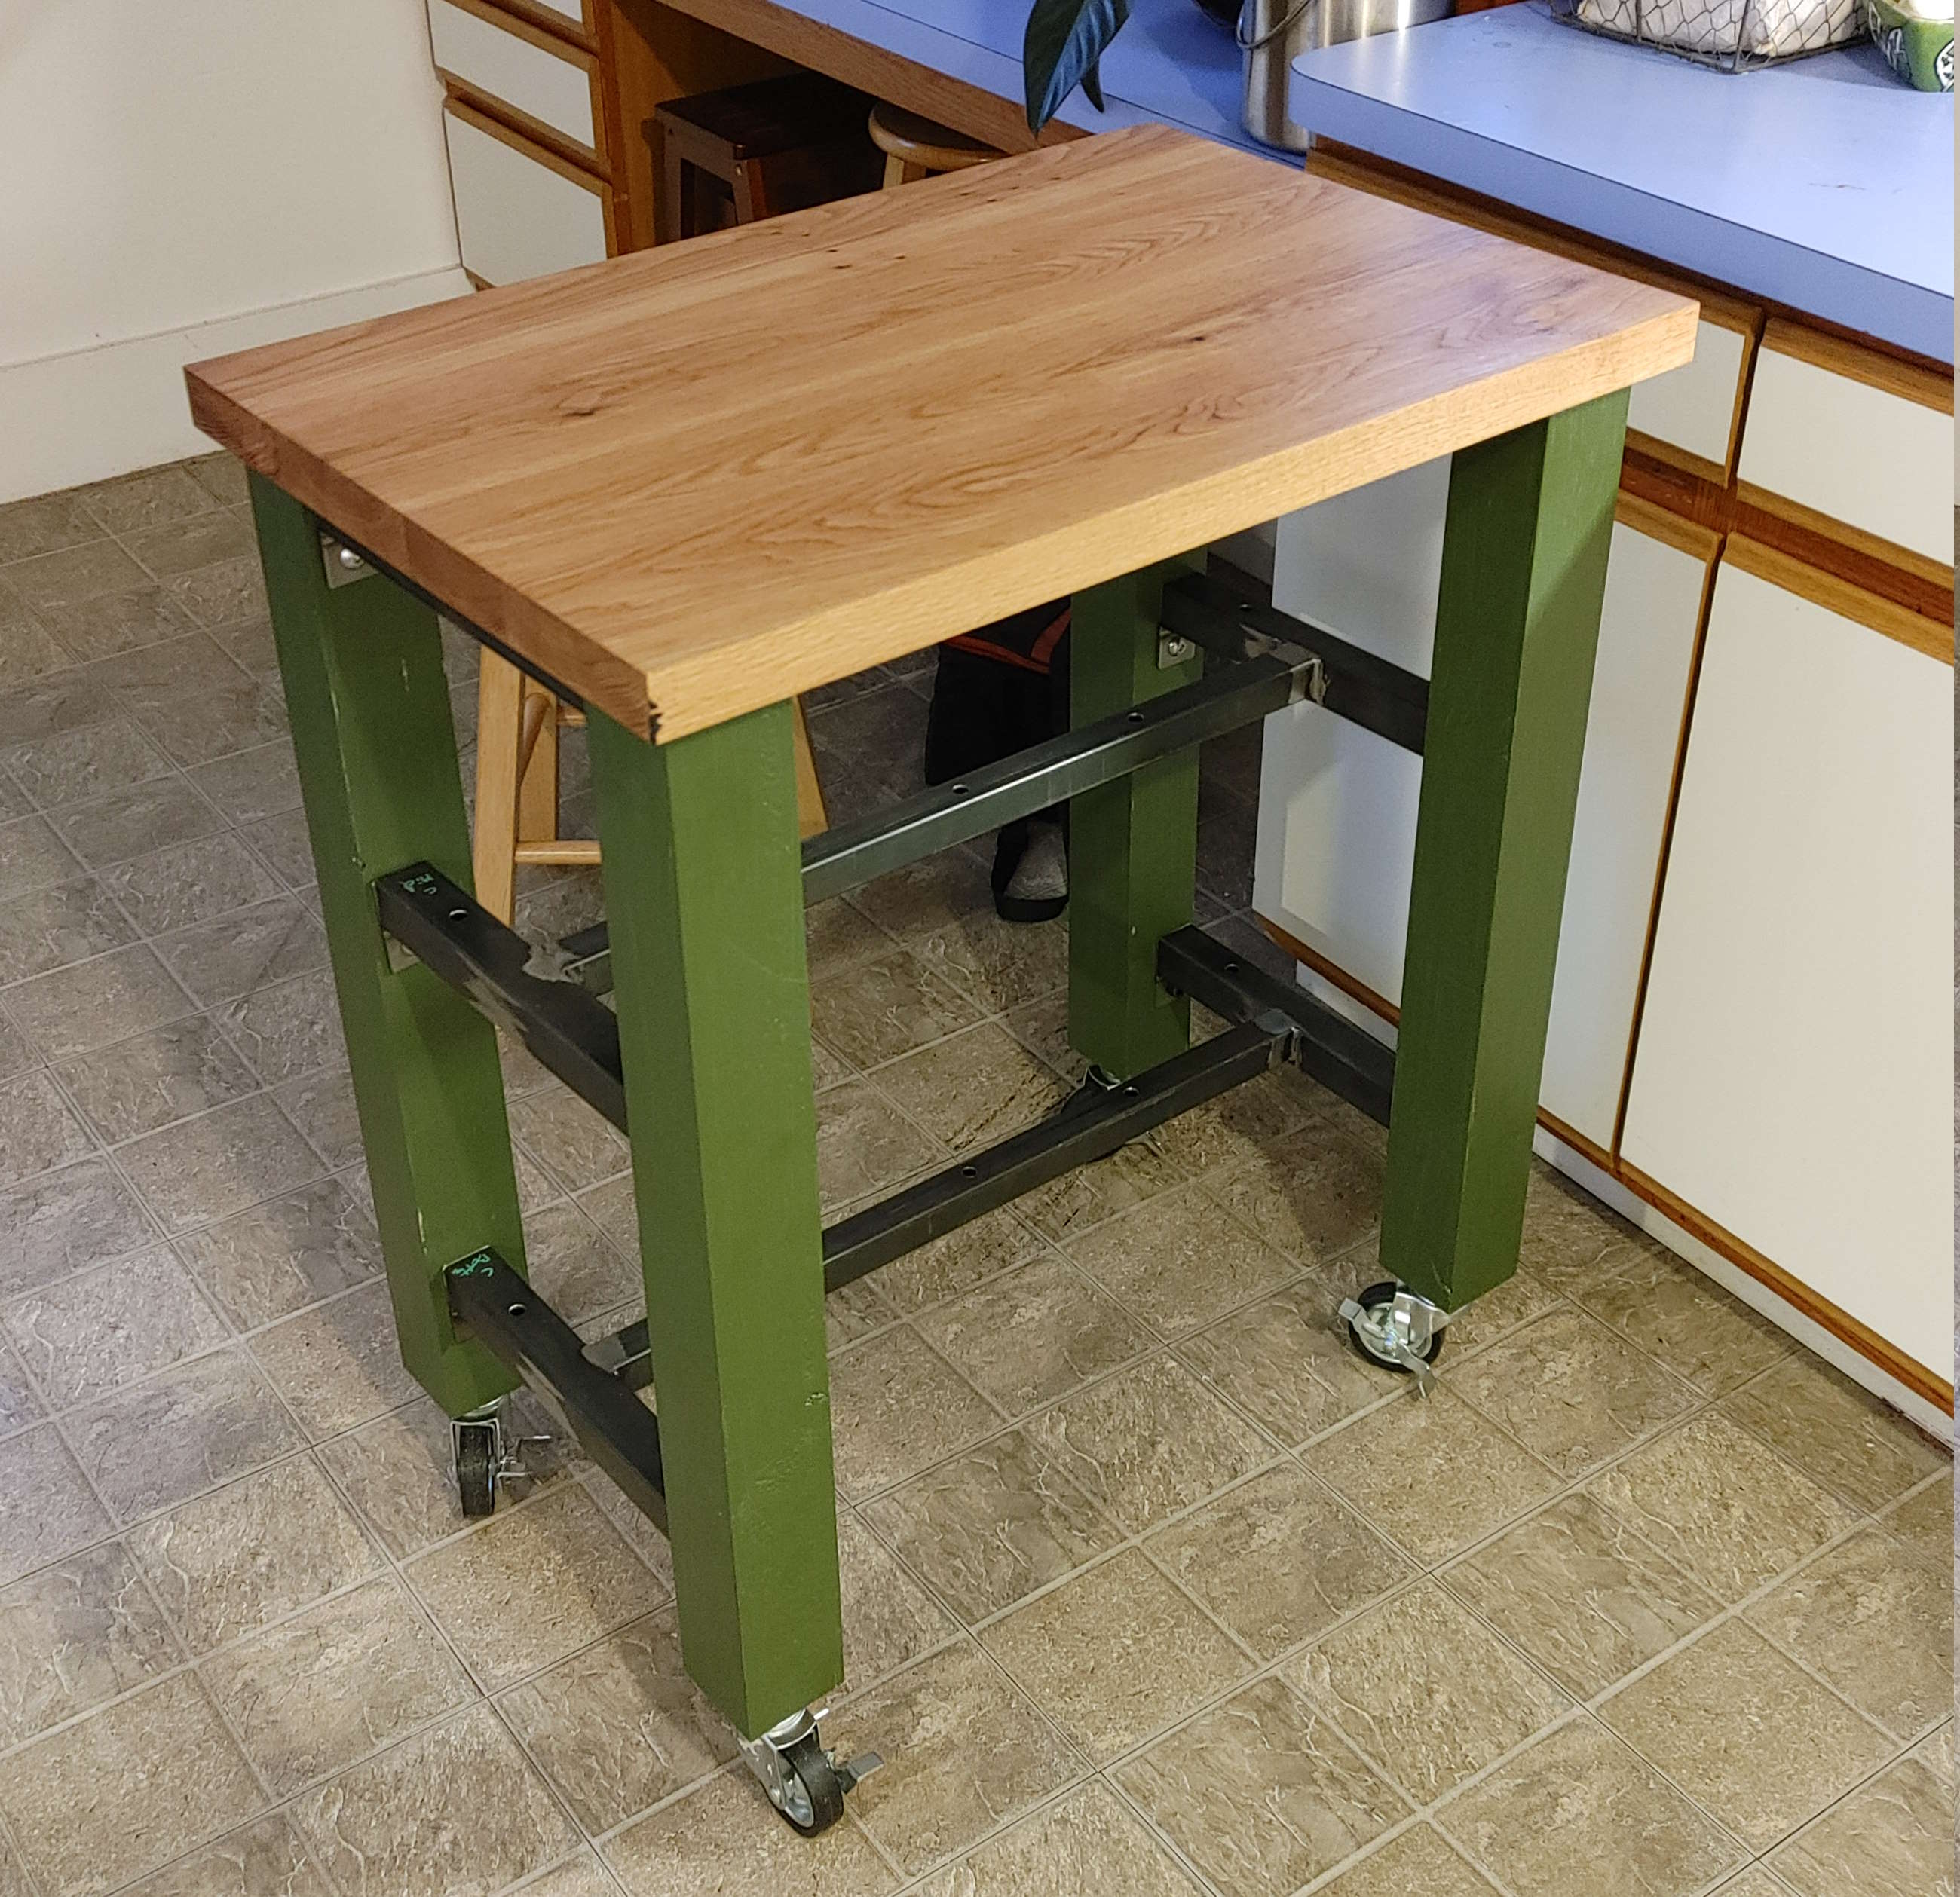
This is a project that I am actually very proud of. I spent a lot of time planning out the build and everything went together just about as planned. The base of the table is made of 1.5" steel square tube with 1.5"x3" steel plates on the end. I drilled the holes in the square tube on a regular drill press, but I should have tried using the Bridgeport mill to make sure they are centered. I only learned how to use it late into the project. My brother and I welded it together and it went okay. I was surprised to find that the tube was not cut square despite having bought it to length at a local steel supply. In spite of our best efforts, the frame was a little warped but manageable. The vertical pieces are made of 3"x3" wooden posts and the tabletop is a 2' x 4' x 1.5" thick white oak piece. We did a dry fit with the legs and the cross beams, and clamped everything down to drill the holes. If ever there was a place for the project to go wrong, it would be here. Fortunately, the legs went on mostly straight. Unfortunately, the holes for the tabletop didnt end up totaly alligned. I used brass threaded inserts in the legs to I could disassemble and reassemble it a few times without compromising the wood. We added holes in the metal cross supports to allow for shelves to be added down the line, but so far I haven't had a need for it. I went with big metric screws and that was another mistake because they are not readily available in my region and they are far more expensive than comparable imperial size. Alas, my personal metrication crusade was thwarted here.
**Lessons**:
- Use a mill to get all holes centered on a piece
- Take more time and care in drilling the holes into the tabletop?
- Use the right fasteners for the job